Make Your Own Black Marker Board

If you browse the home décor Instagram feeds or Pinterest boards, black chalkboards will doubtlessly show up often enough. There is something nostalgic and rustic about a good ol’ blackboard with messages, reminders, and lists written in cute hand lettering. We’ve had one in our kitchen for a few years and it’s been used on a daily basis to add items to our grocery list and keep track of who's turn it is to empty the dishwasher. We couldn’t do without it, but we must because, hello chalk-dust-everywhere-all-the-time!

Although white boards are much cleaner, I don’t love the look. So I decided to make our own. Since I already had half the materials, this little project only cost me about $20. For those who would need to purchase everything, it will run you about $35. The markerboard I made is 2’ wide and 3’ high and works really will with the dry-erase markers that can be used on windows. You can buy them at the same place you’d find regular dry-erase markers. In the picture at the top, I used “Wet-wipe” chalk markers that can be wiped off with a wet rag.
Supplies
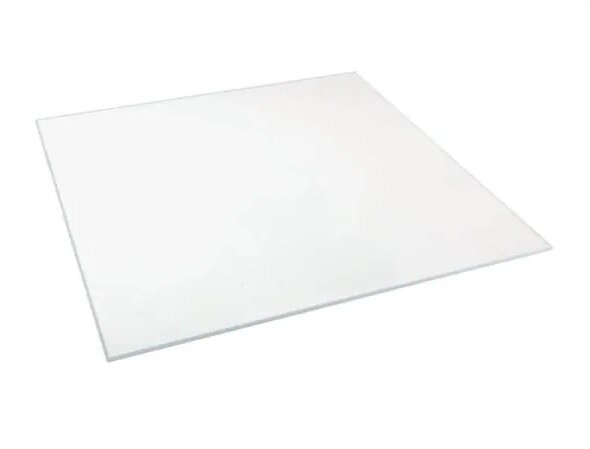
Glass sheet: It’s easier to get the glass sheet in the size you want so you can use as is and don’t need to cut down. The one I got was 2’ x 3’ and cost me about $20 after taxes.
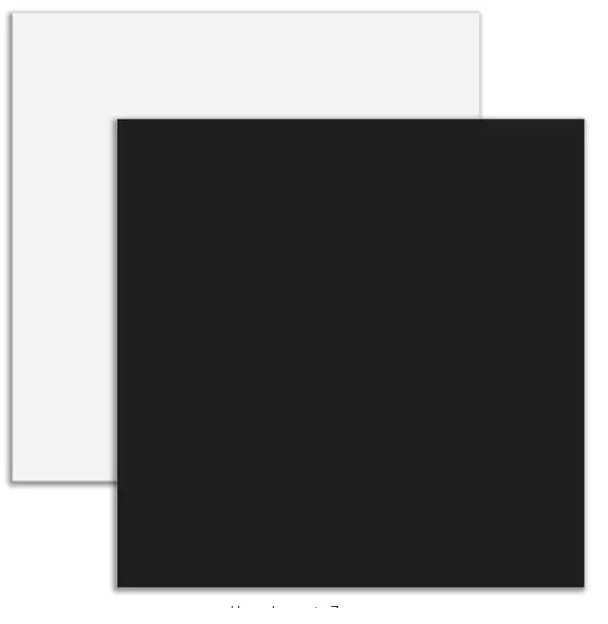
Blackboard MDF: I already had the one we’d been using so didn’t need to purchase, but you can get one of these at your local big box store that’s a combo with a whiteboard on one side and a blackboard on the other. You could also get a regular 3/16” thick MDF and paint it whatever color you’d like. This should be purchased the same size as your sheet of glass or slightly bigger (it can be easily cut down to size with a jigsaw or circular saw).
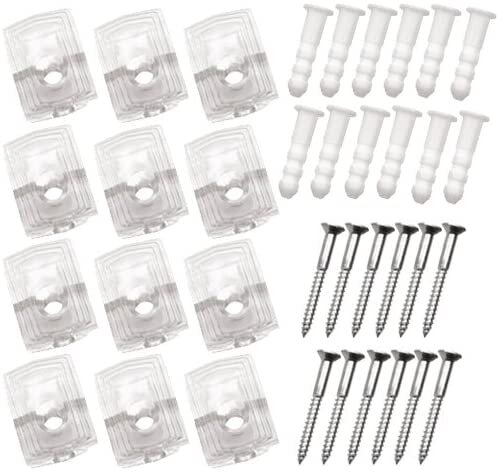
Plastic Mirror Clips: These are also available at your local hardware store and should run you about $6/pack of clips. You’ll need a pack with at least 6 clips.
Tools
Driver and bit needed for mirror clip screws
Safety glasses (Do as I say, not as I do)
Work gloves. (The glass edge is sharp, y’all. I learned this lesson the hard way.)
Circular Saw / Jigsaw / Track Saw
Straight edge + clamps / Kreg Track (If you don’t own a track saw)
Clean microfiber cloth
Glass Cleaner / Vinegar-water solution
Steps to Build
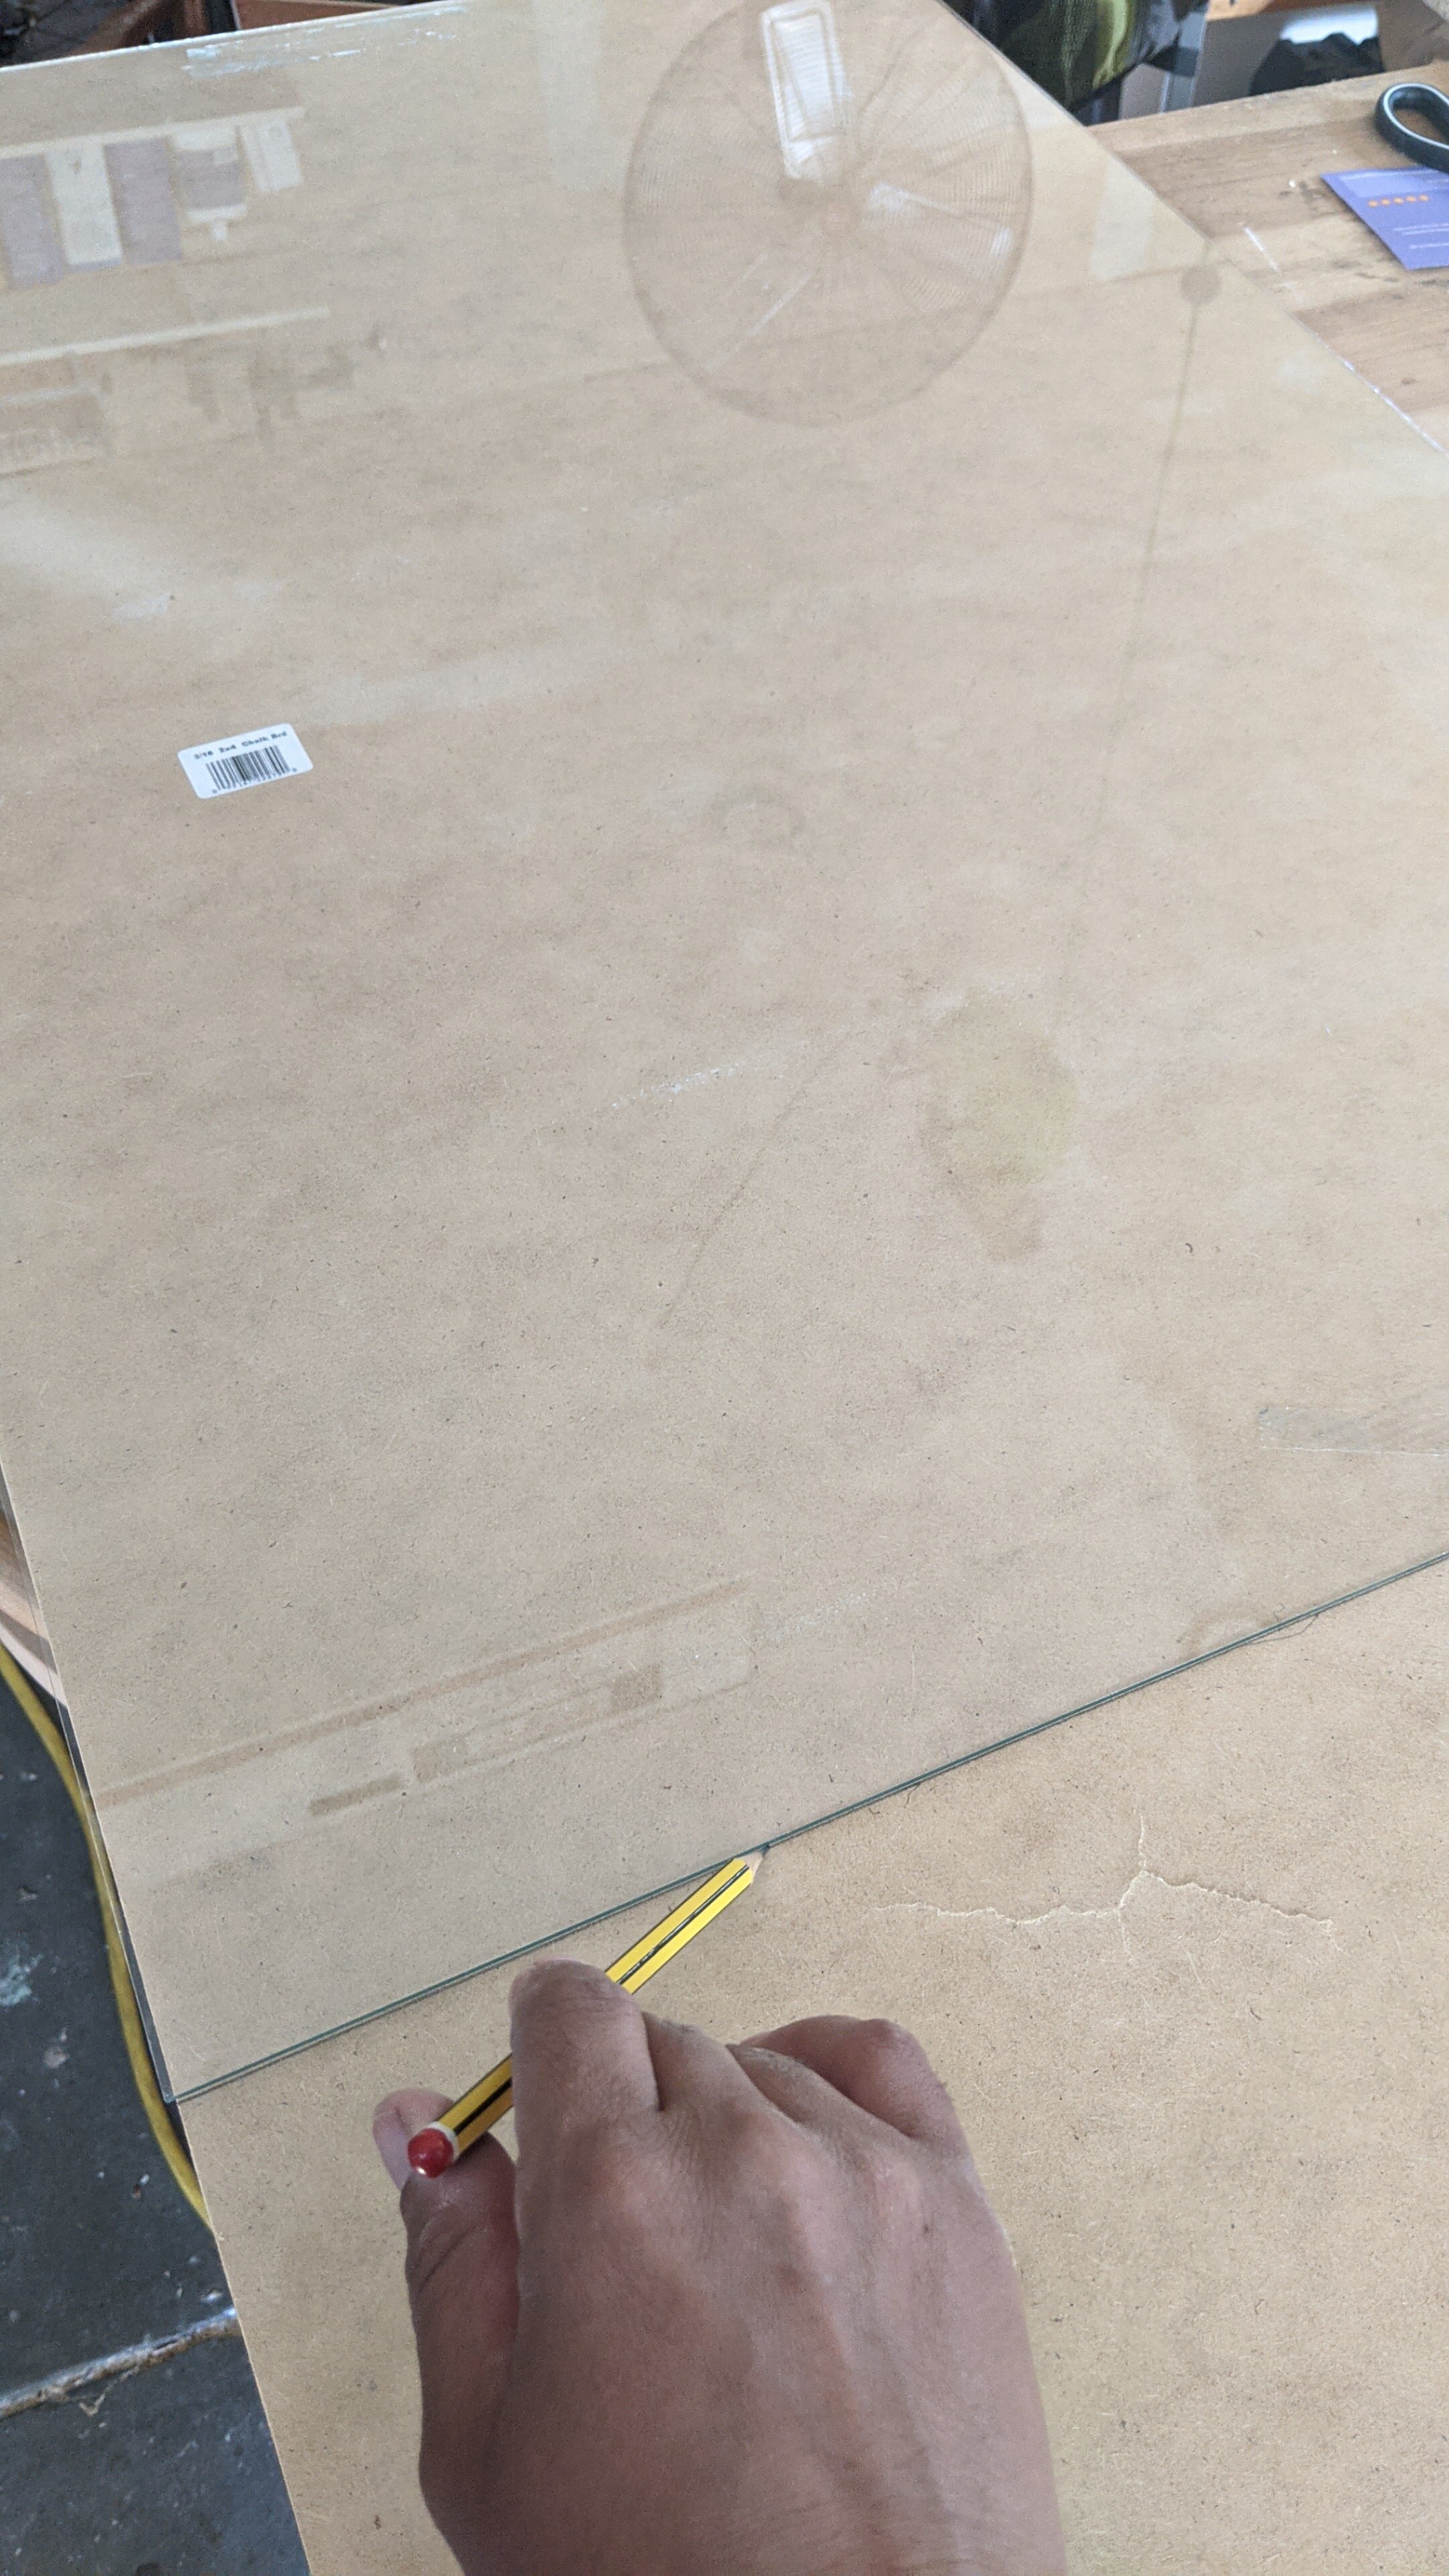
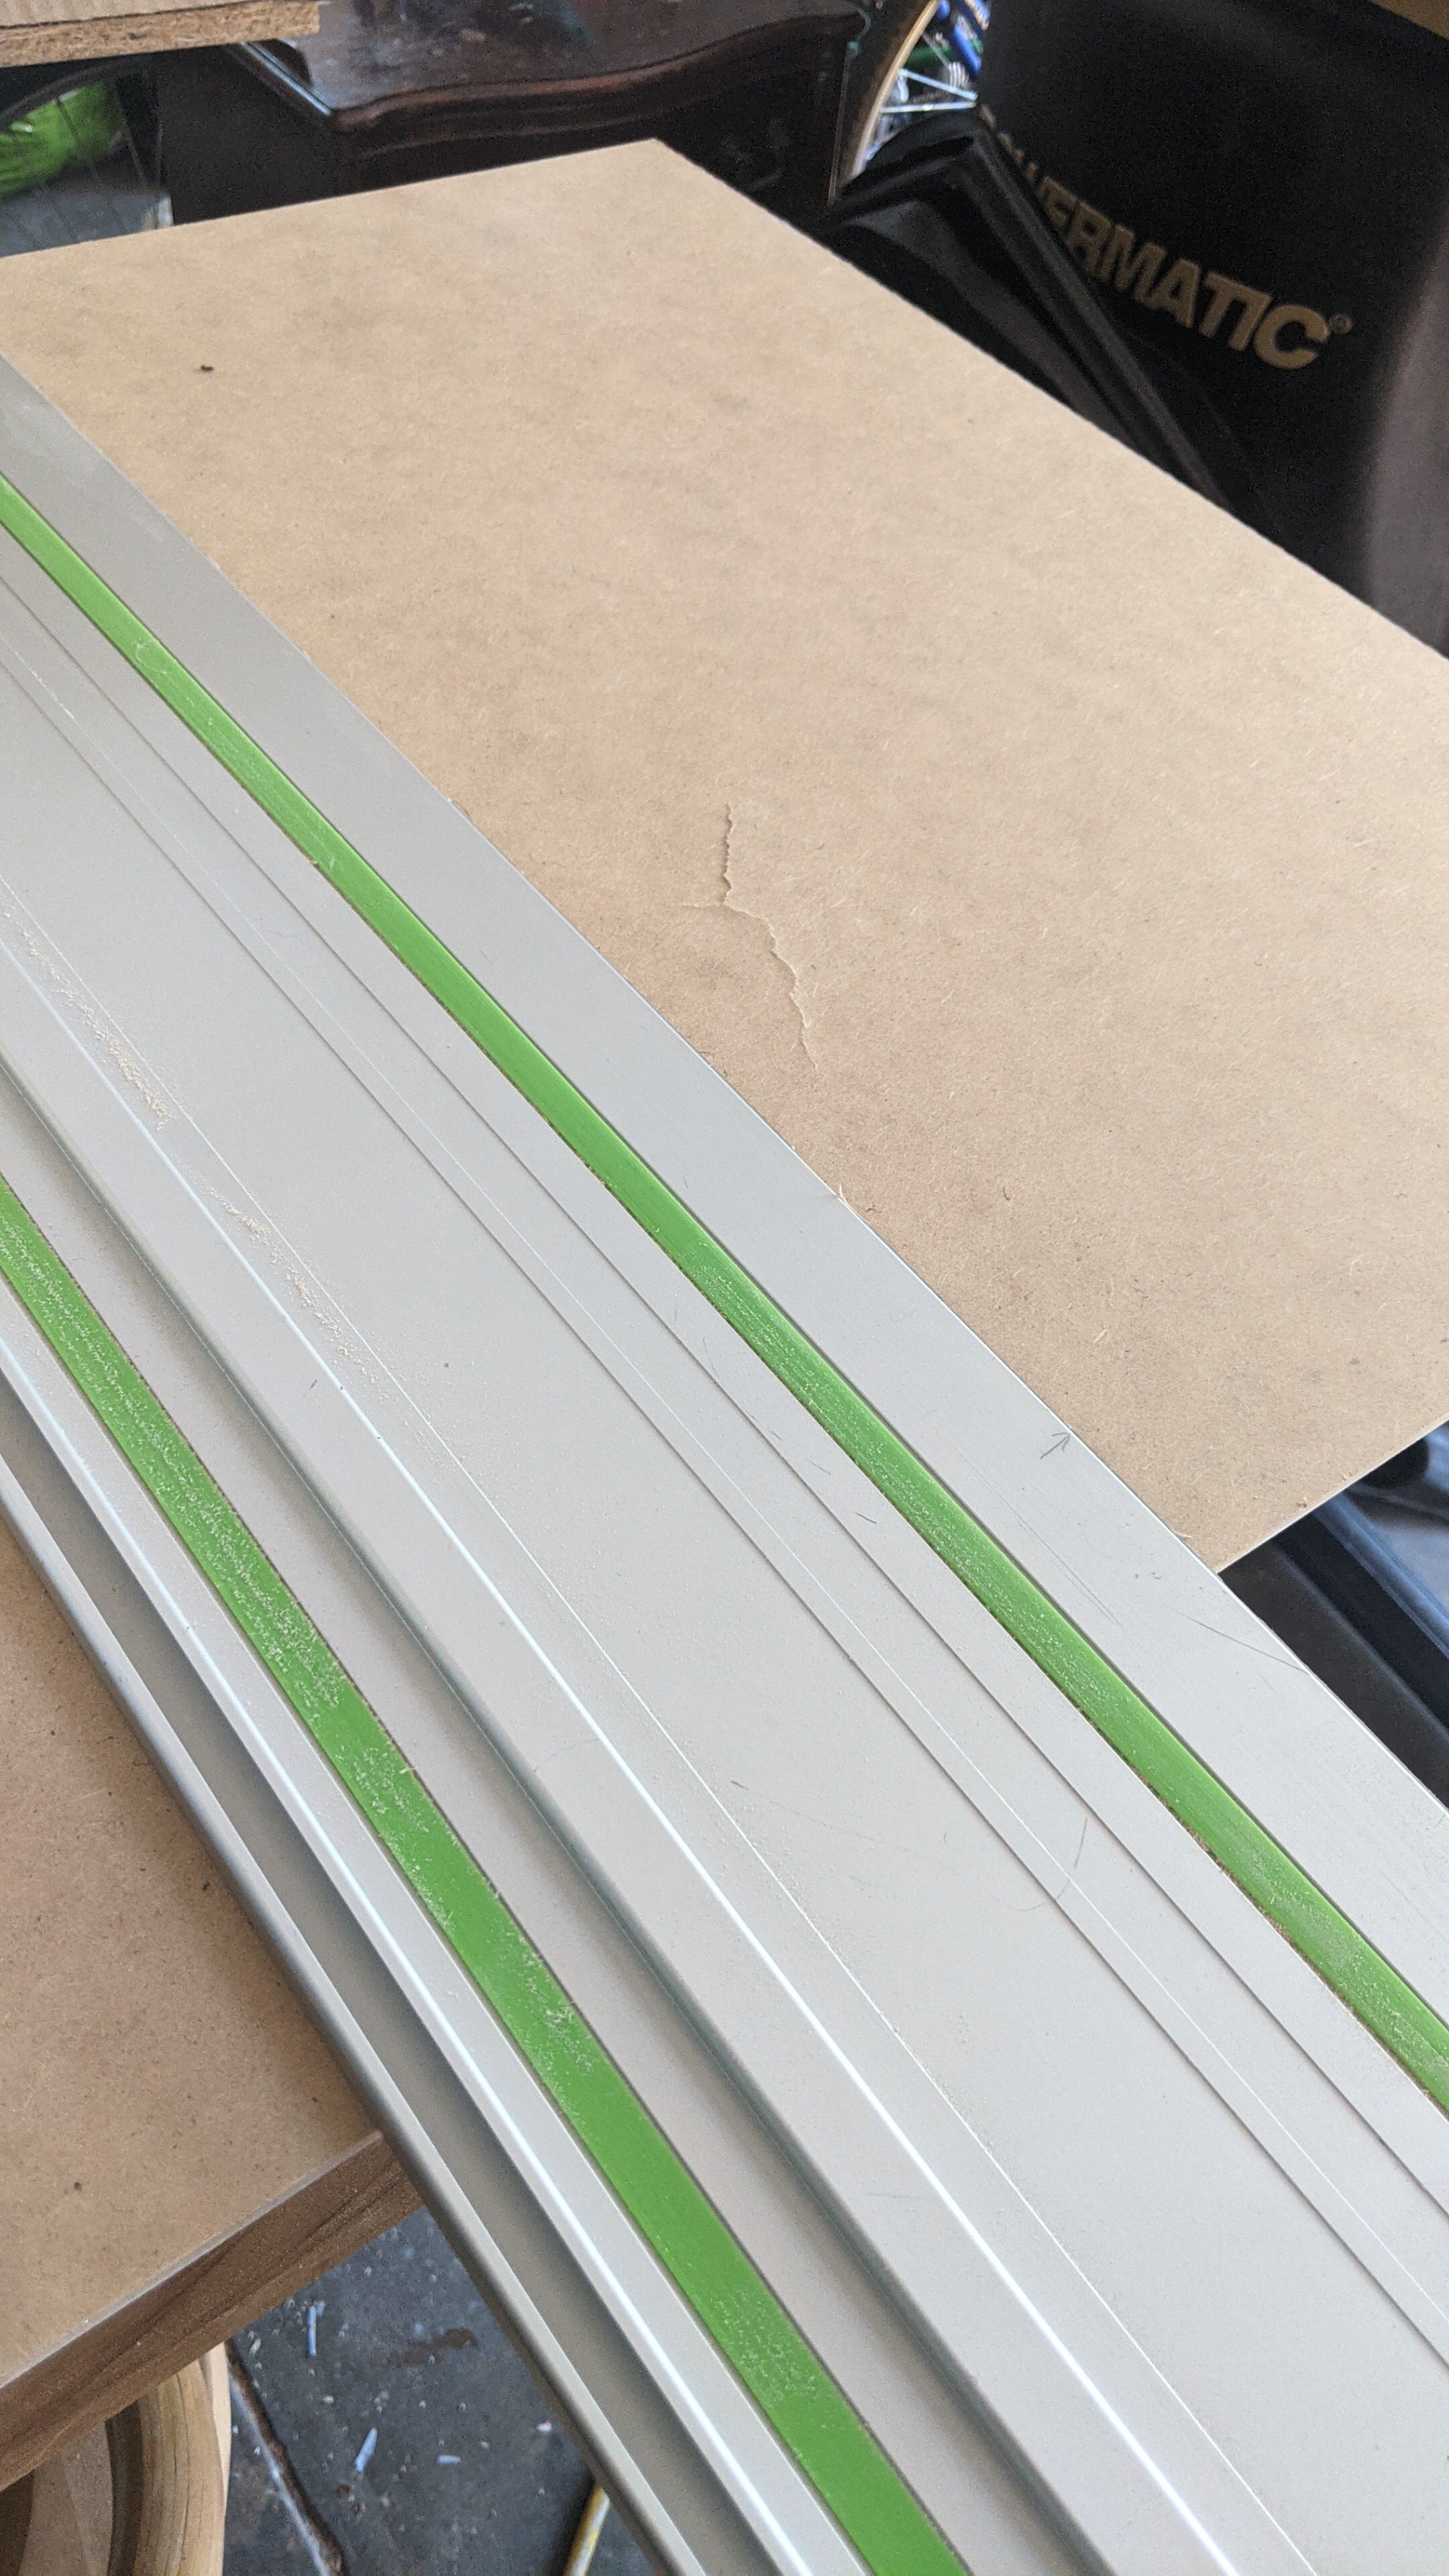
Use sheet of glass to mark out the size of MDF Chalkboard (or equivalent material) you’ll be using.
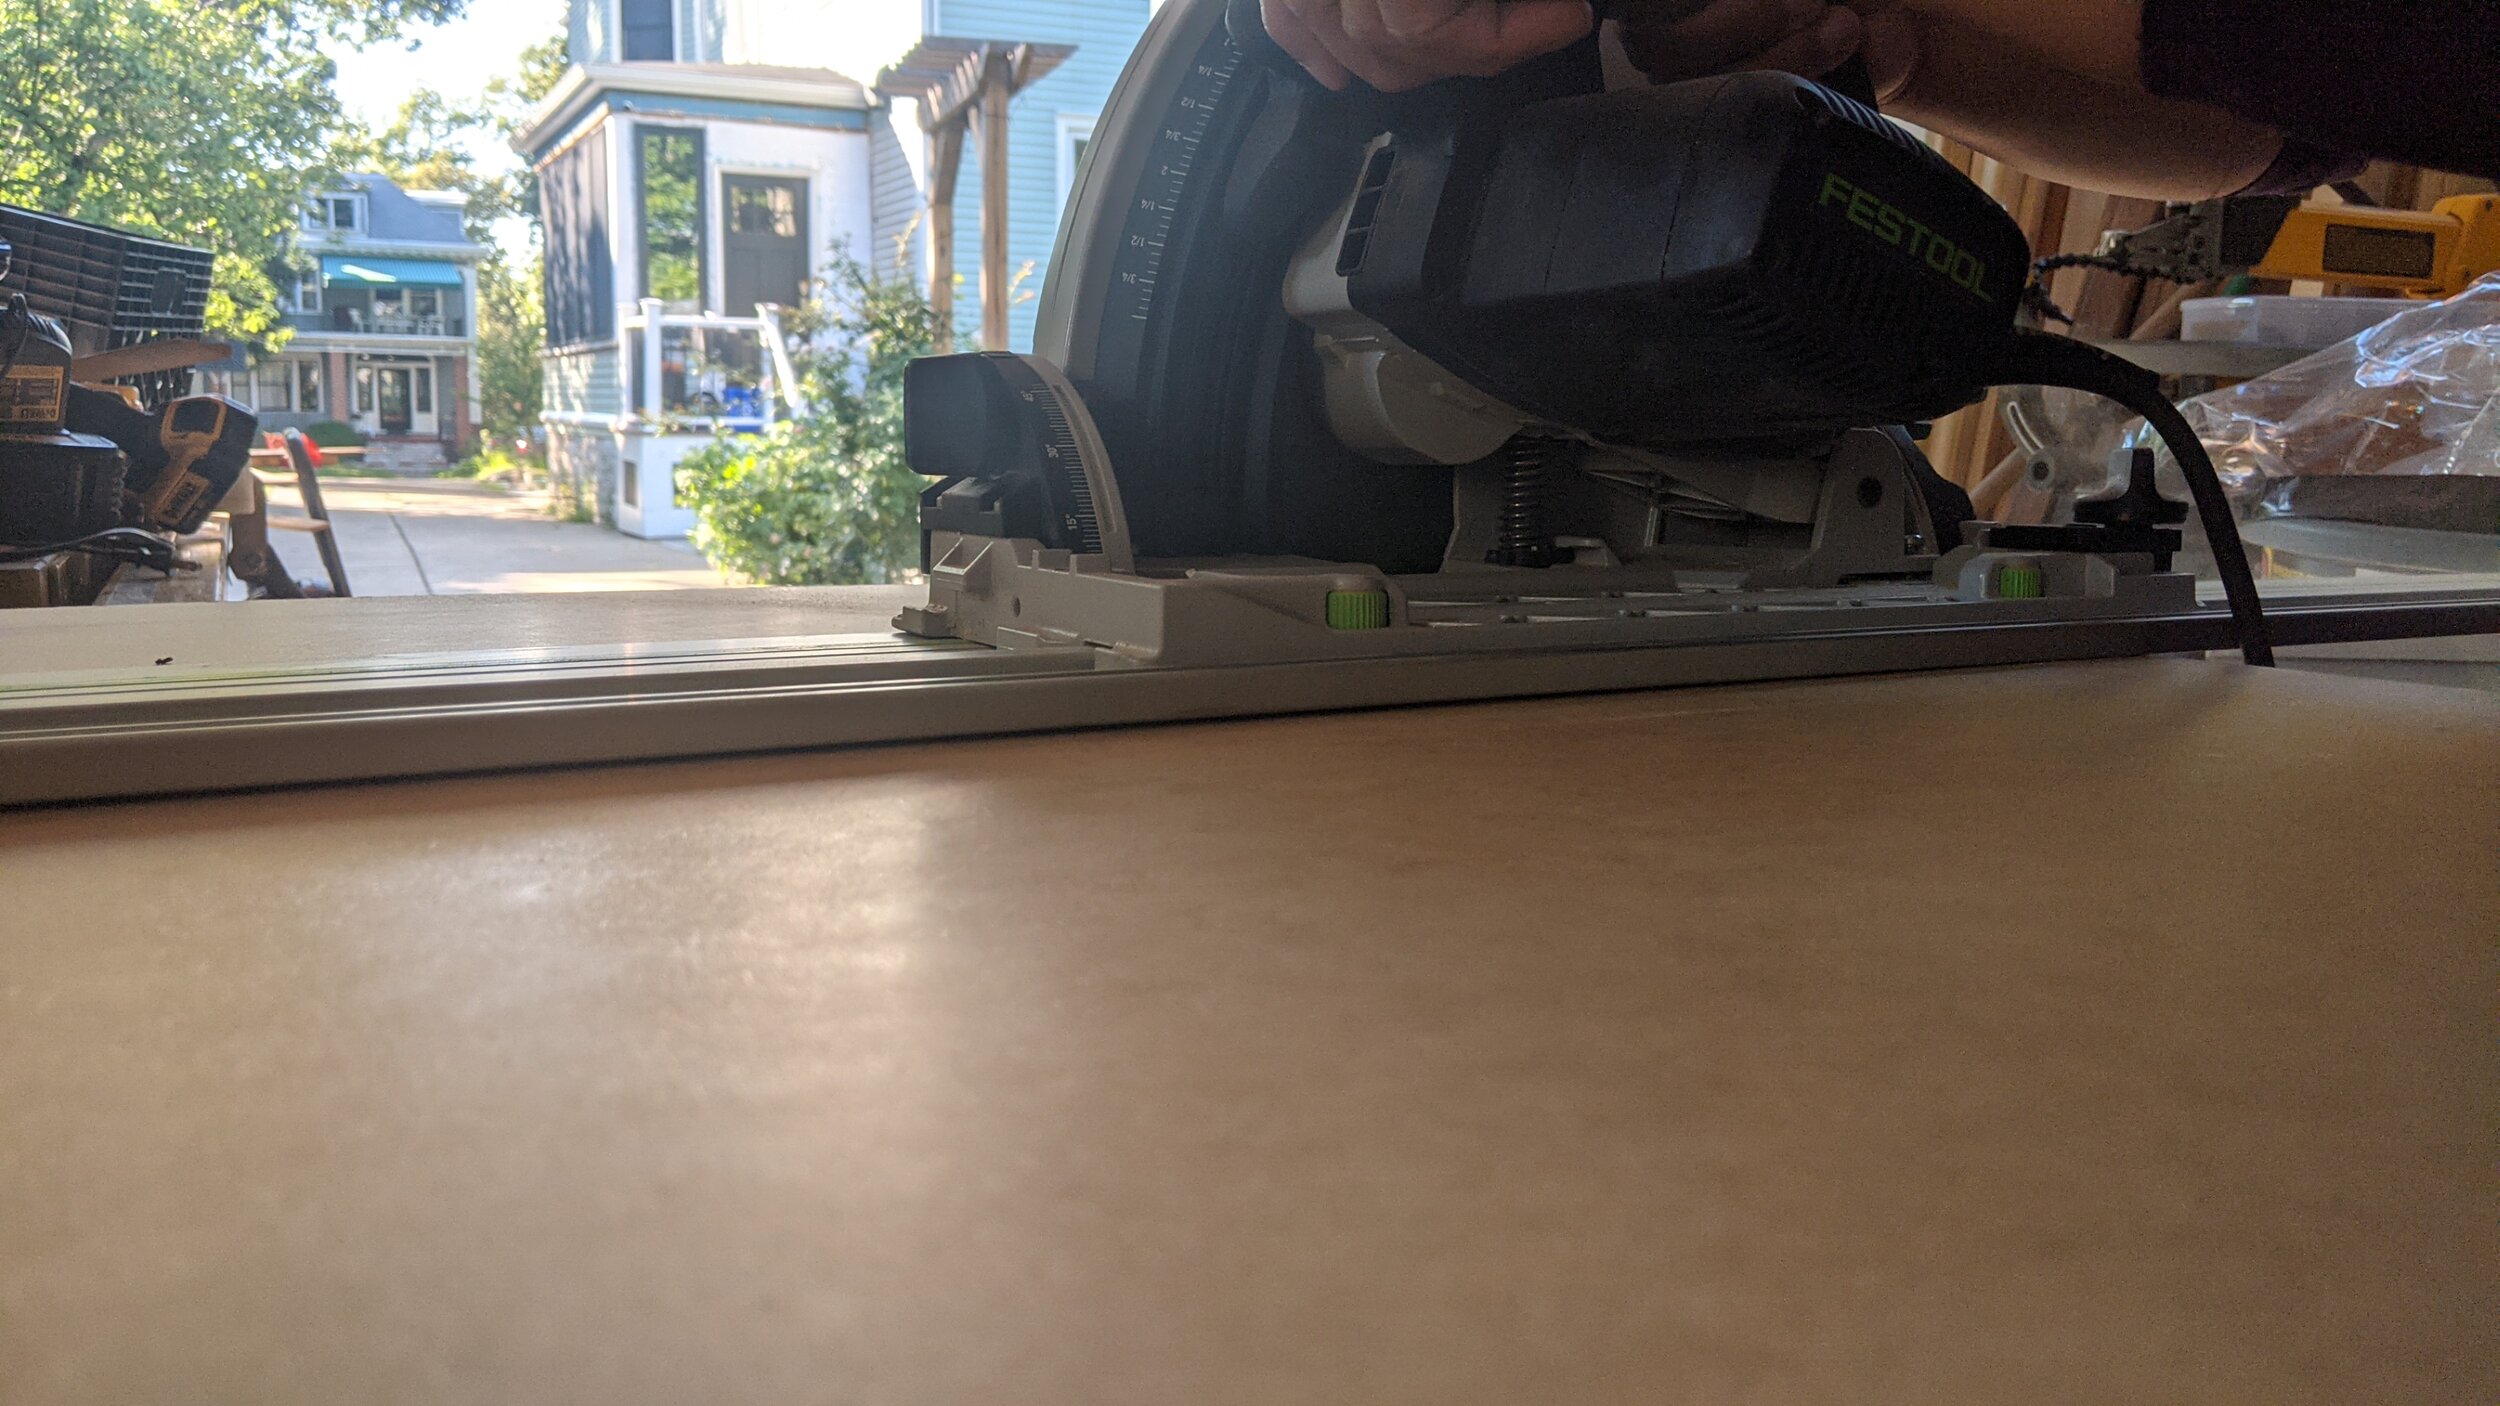
Clamp your track along the cut-line. If you’re using a straight-edge, you’ll need to measure the distance between your blade and the edge of the plate that will be gliding along your straight edge. That’s the distance from the cut-line you’ll need to clamp your straight edge.
Cut your MDF sheet to size
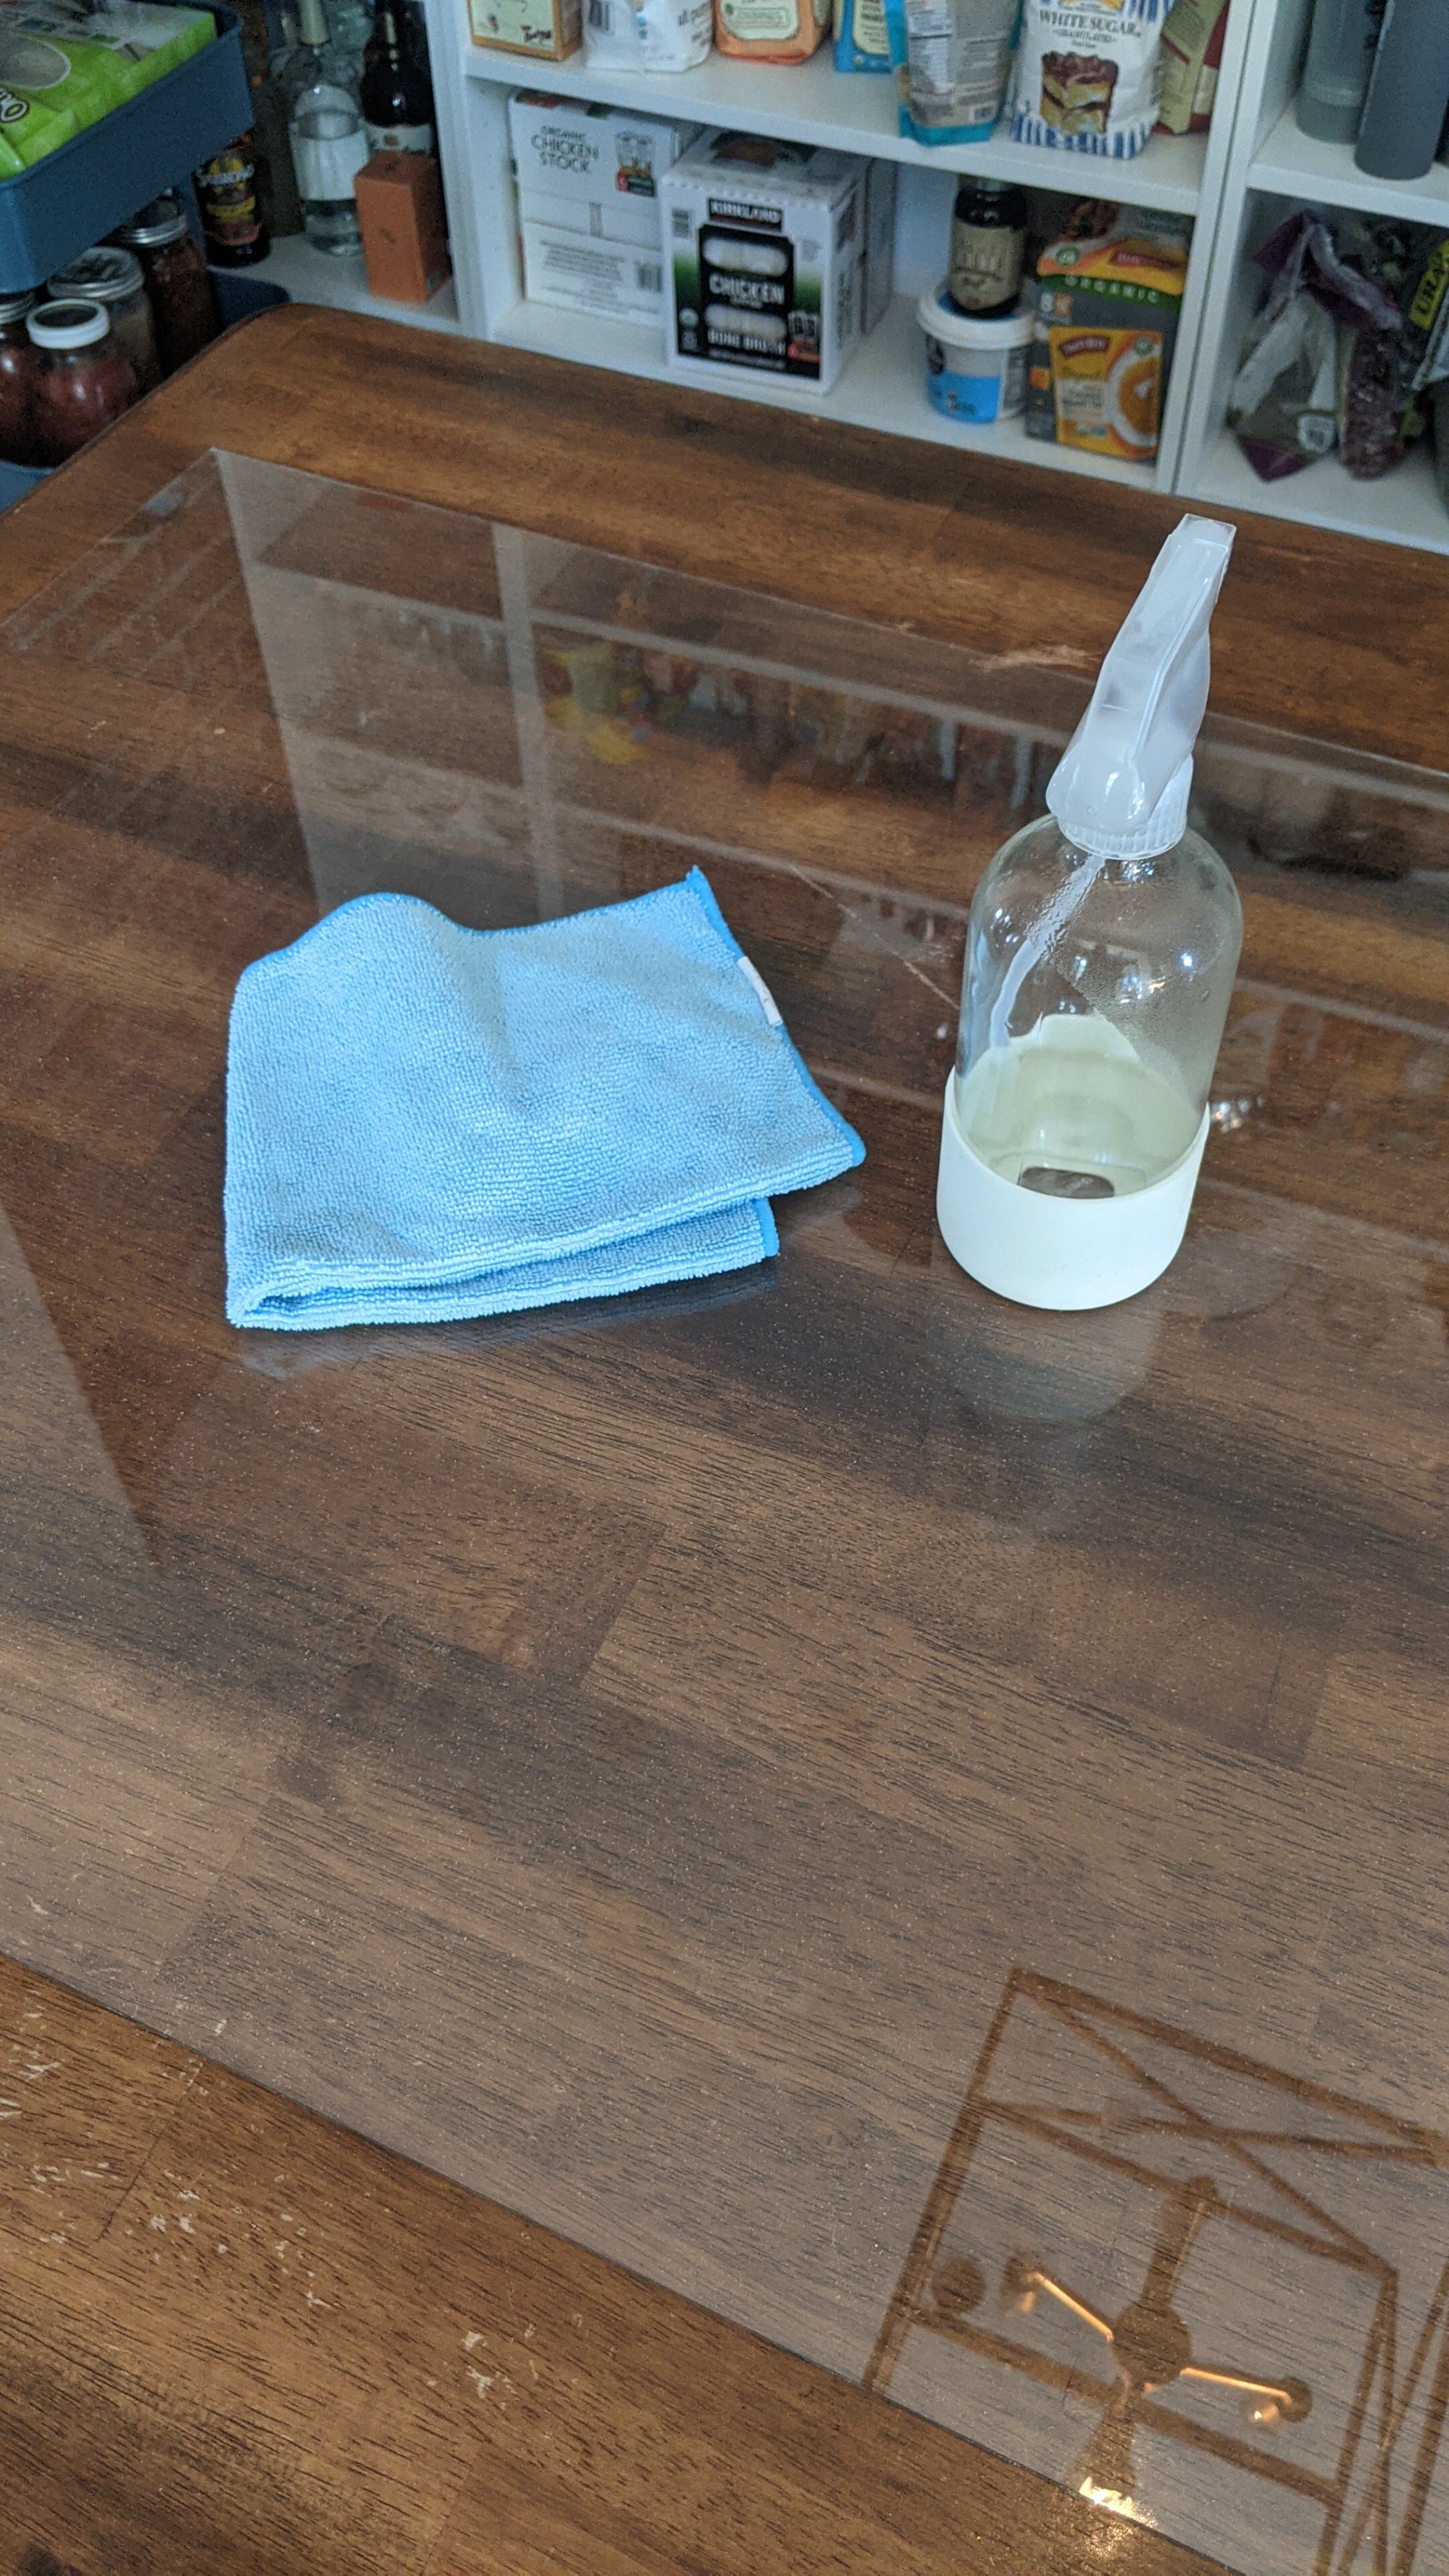
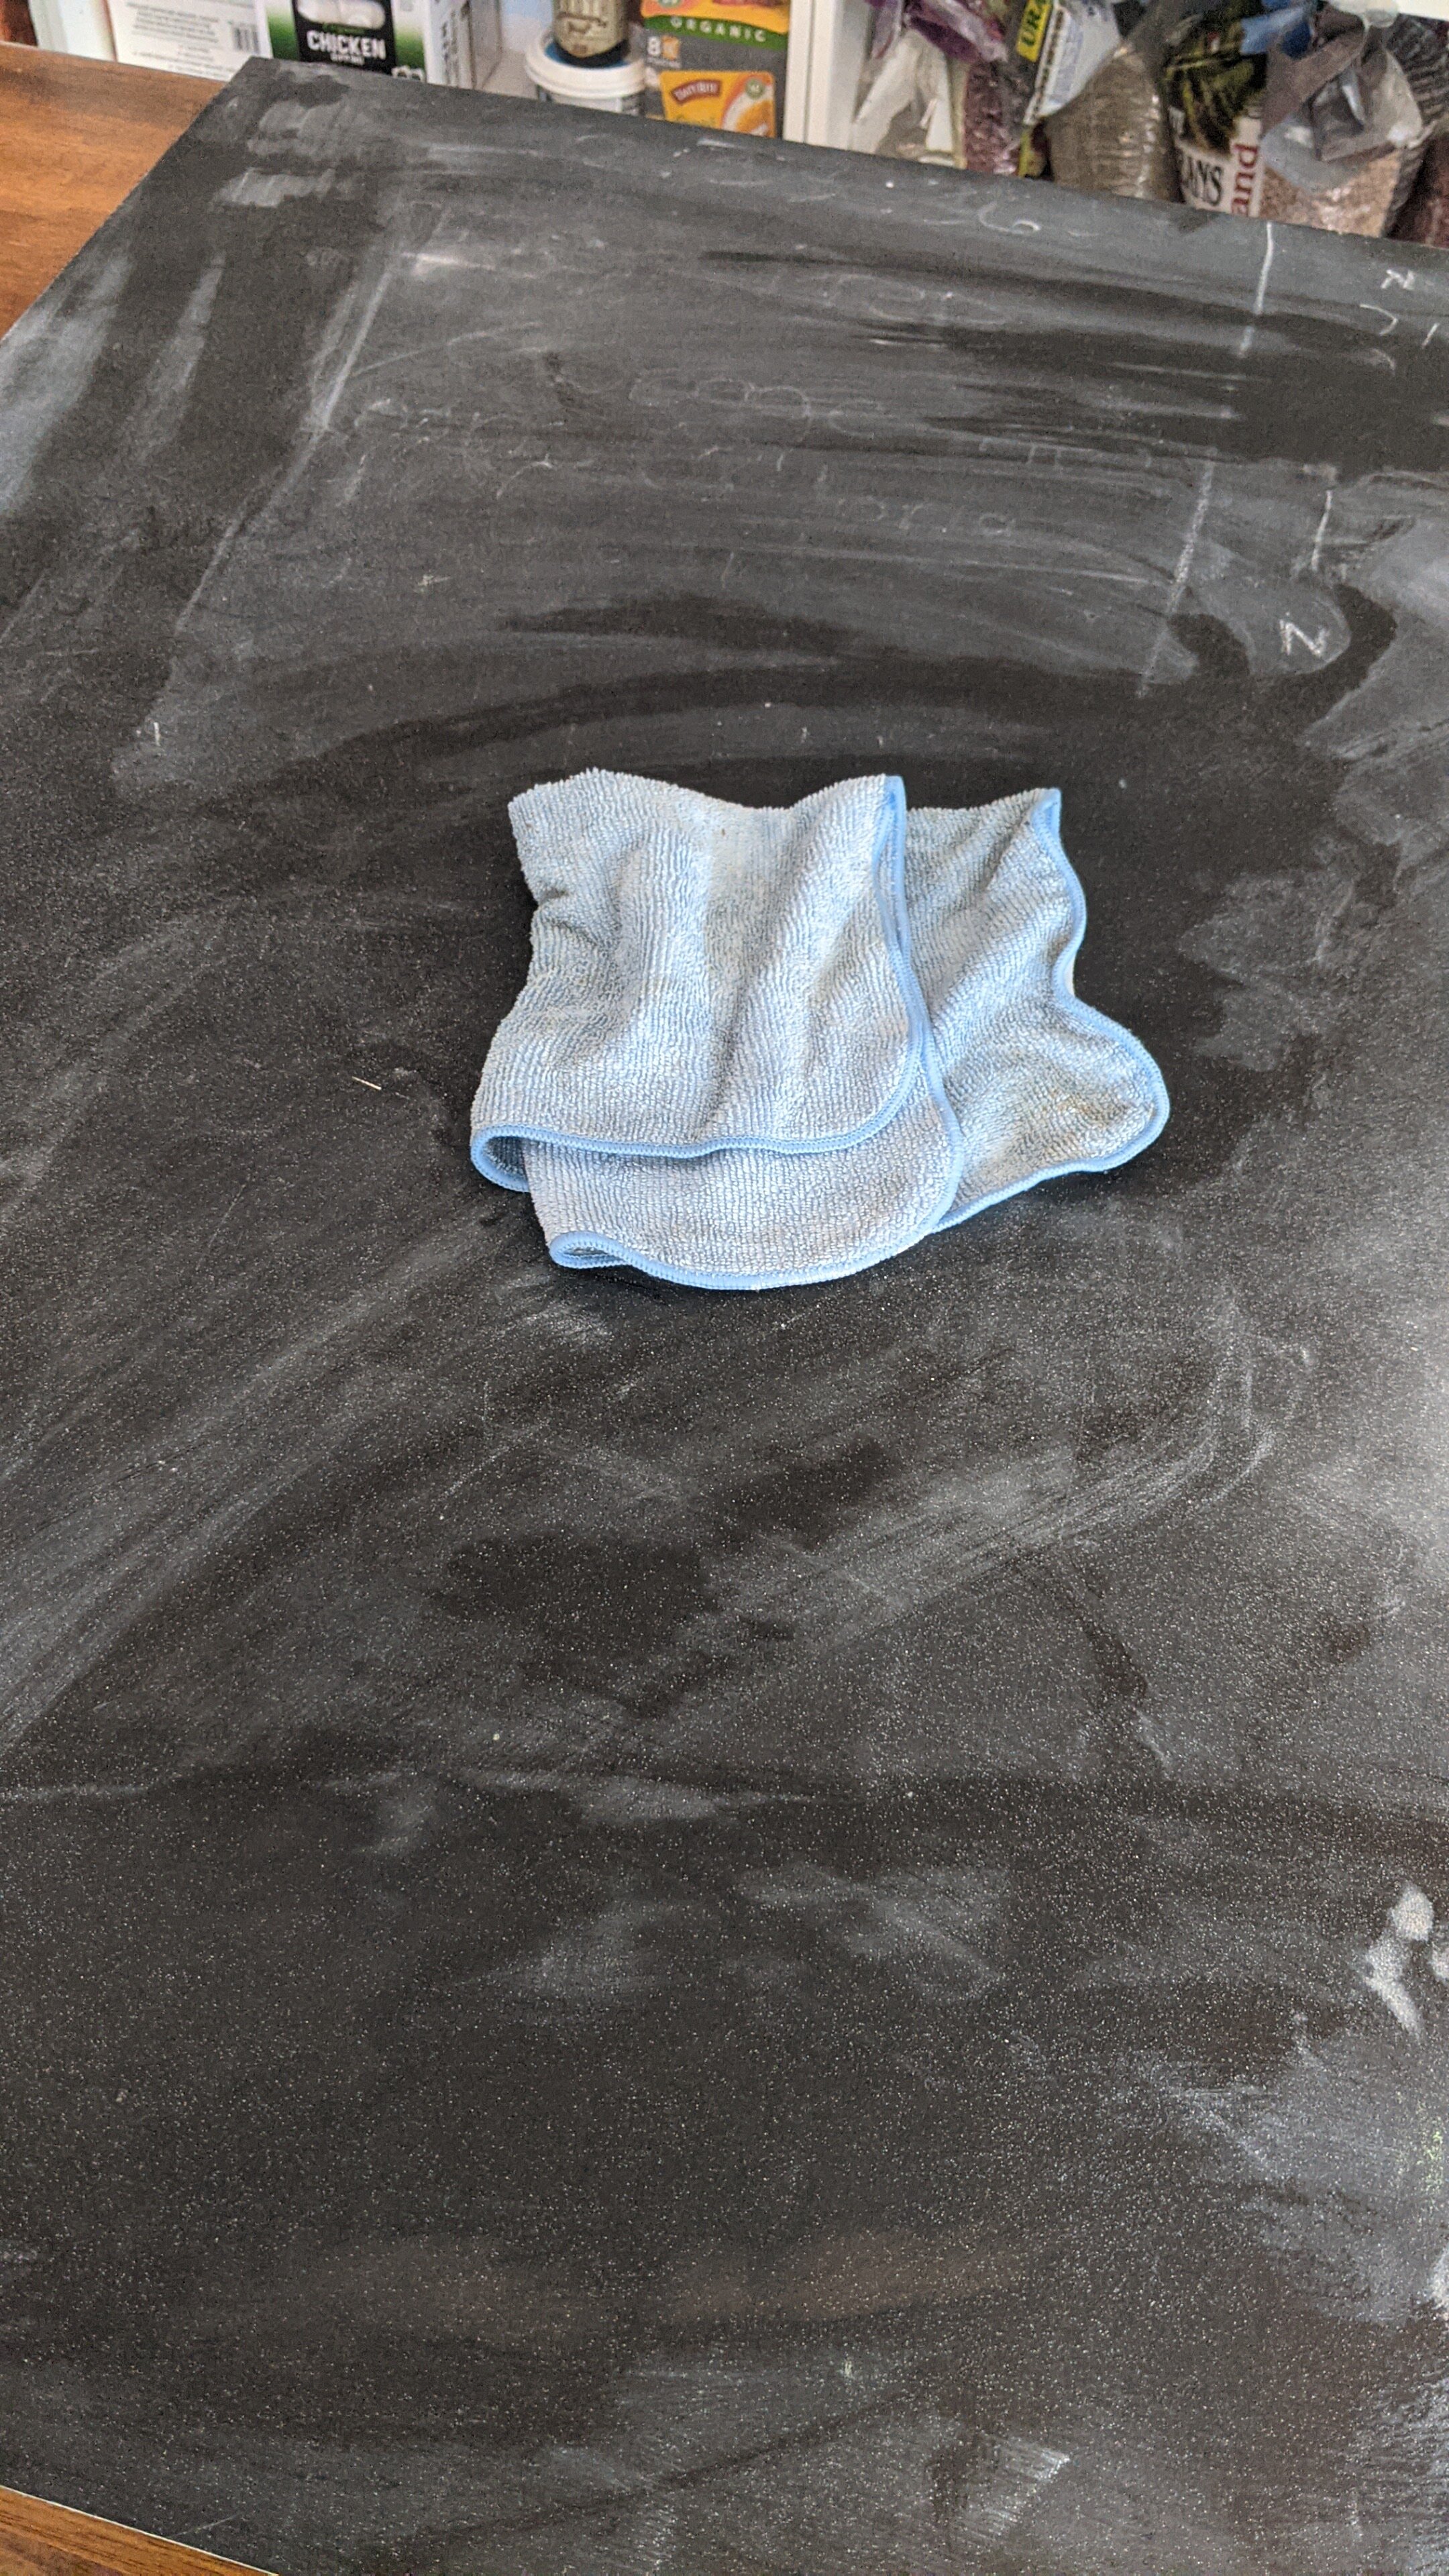
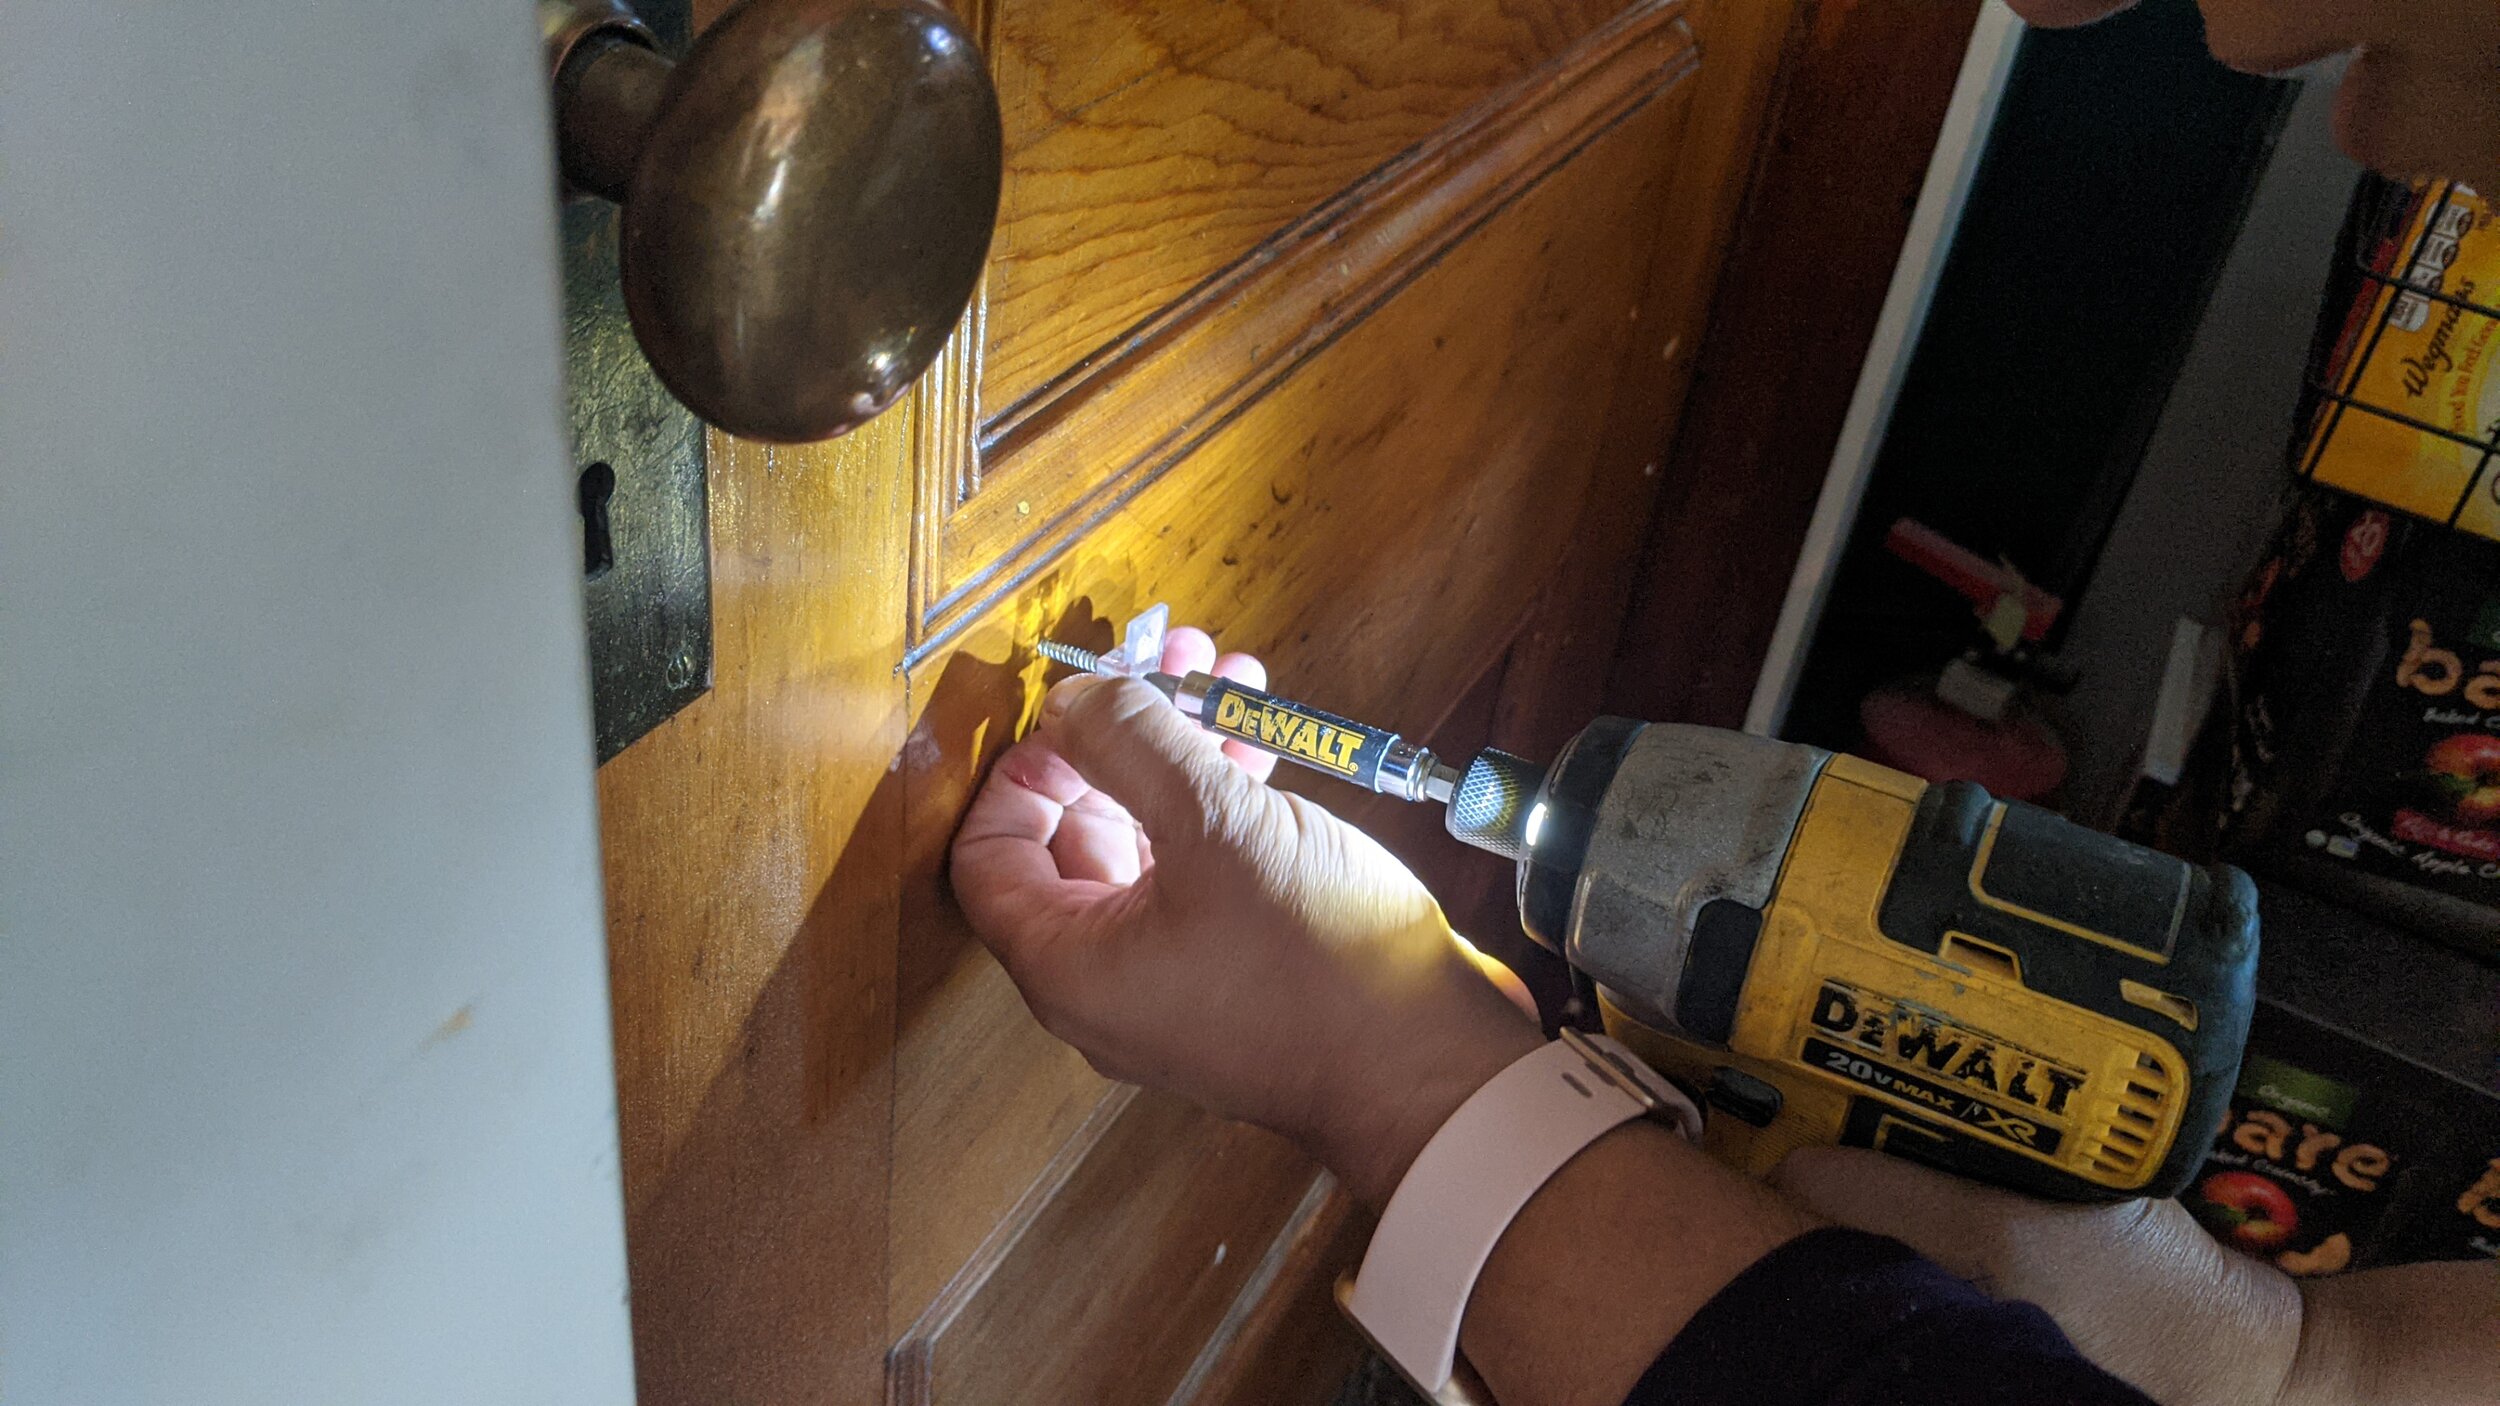
The sheet of glass is going to sit on top of the MDF chalkboard so you’ll want to clean the chalkboard as well as the side of the glass that will be in contact with the chalkboard. I used a wet rag for the chalkboard and vinegar-water solution and microfiber cloth for the glass. After this, I loosely installed two clips level along where the bottom of the finished marker board would sit and one clip halfway up where one of the edges of the board would be.
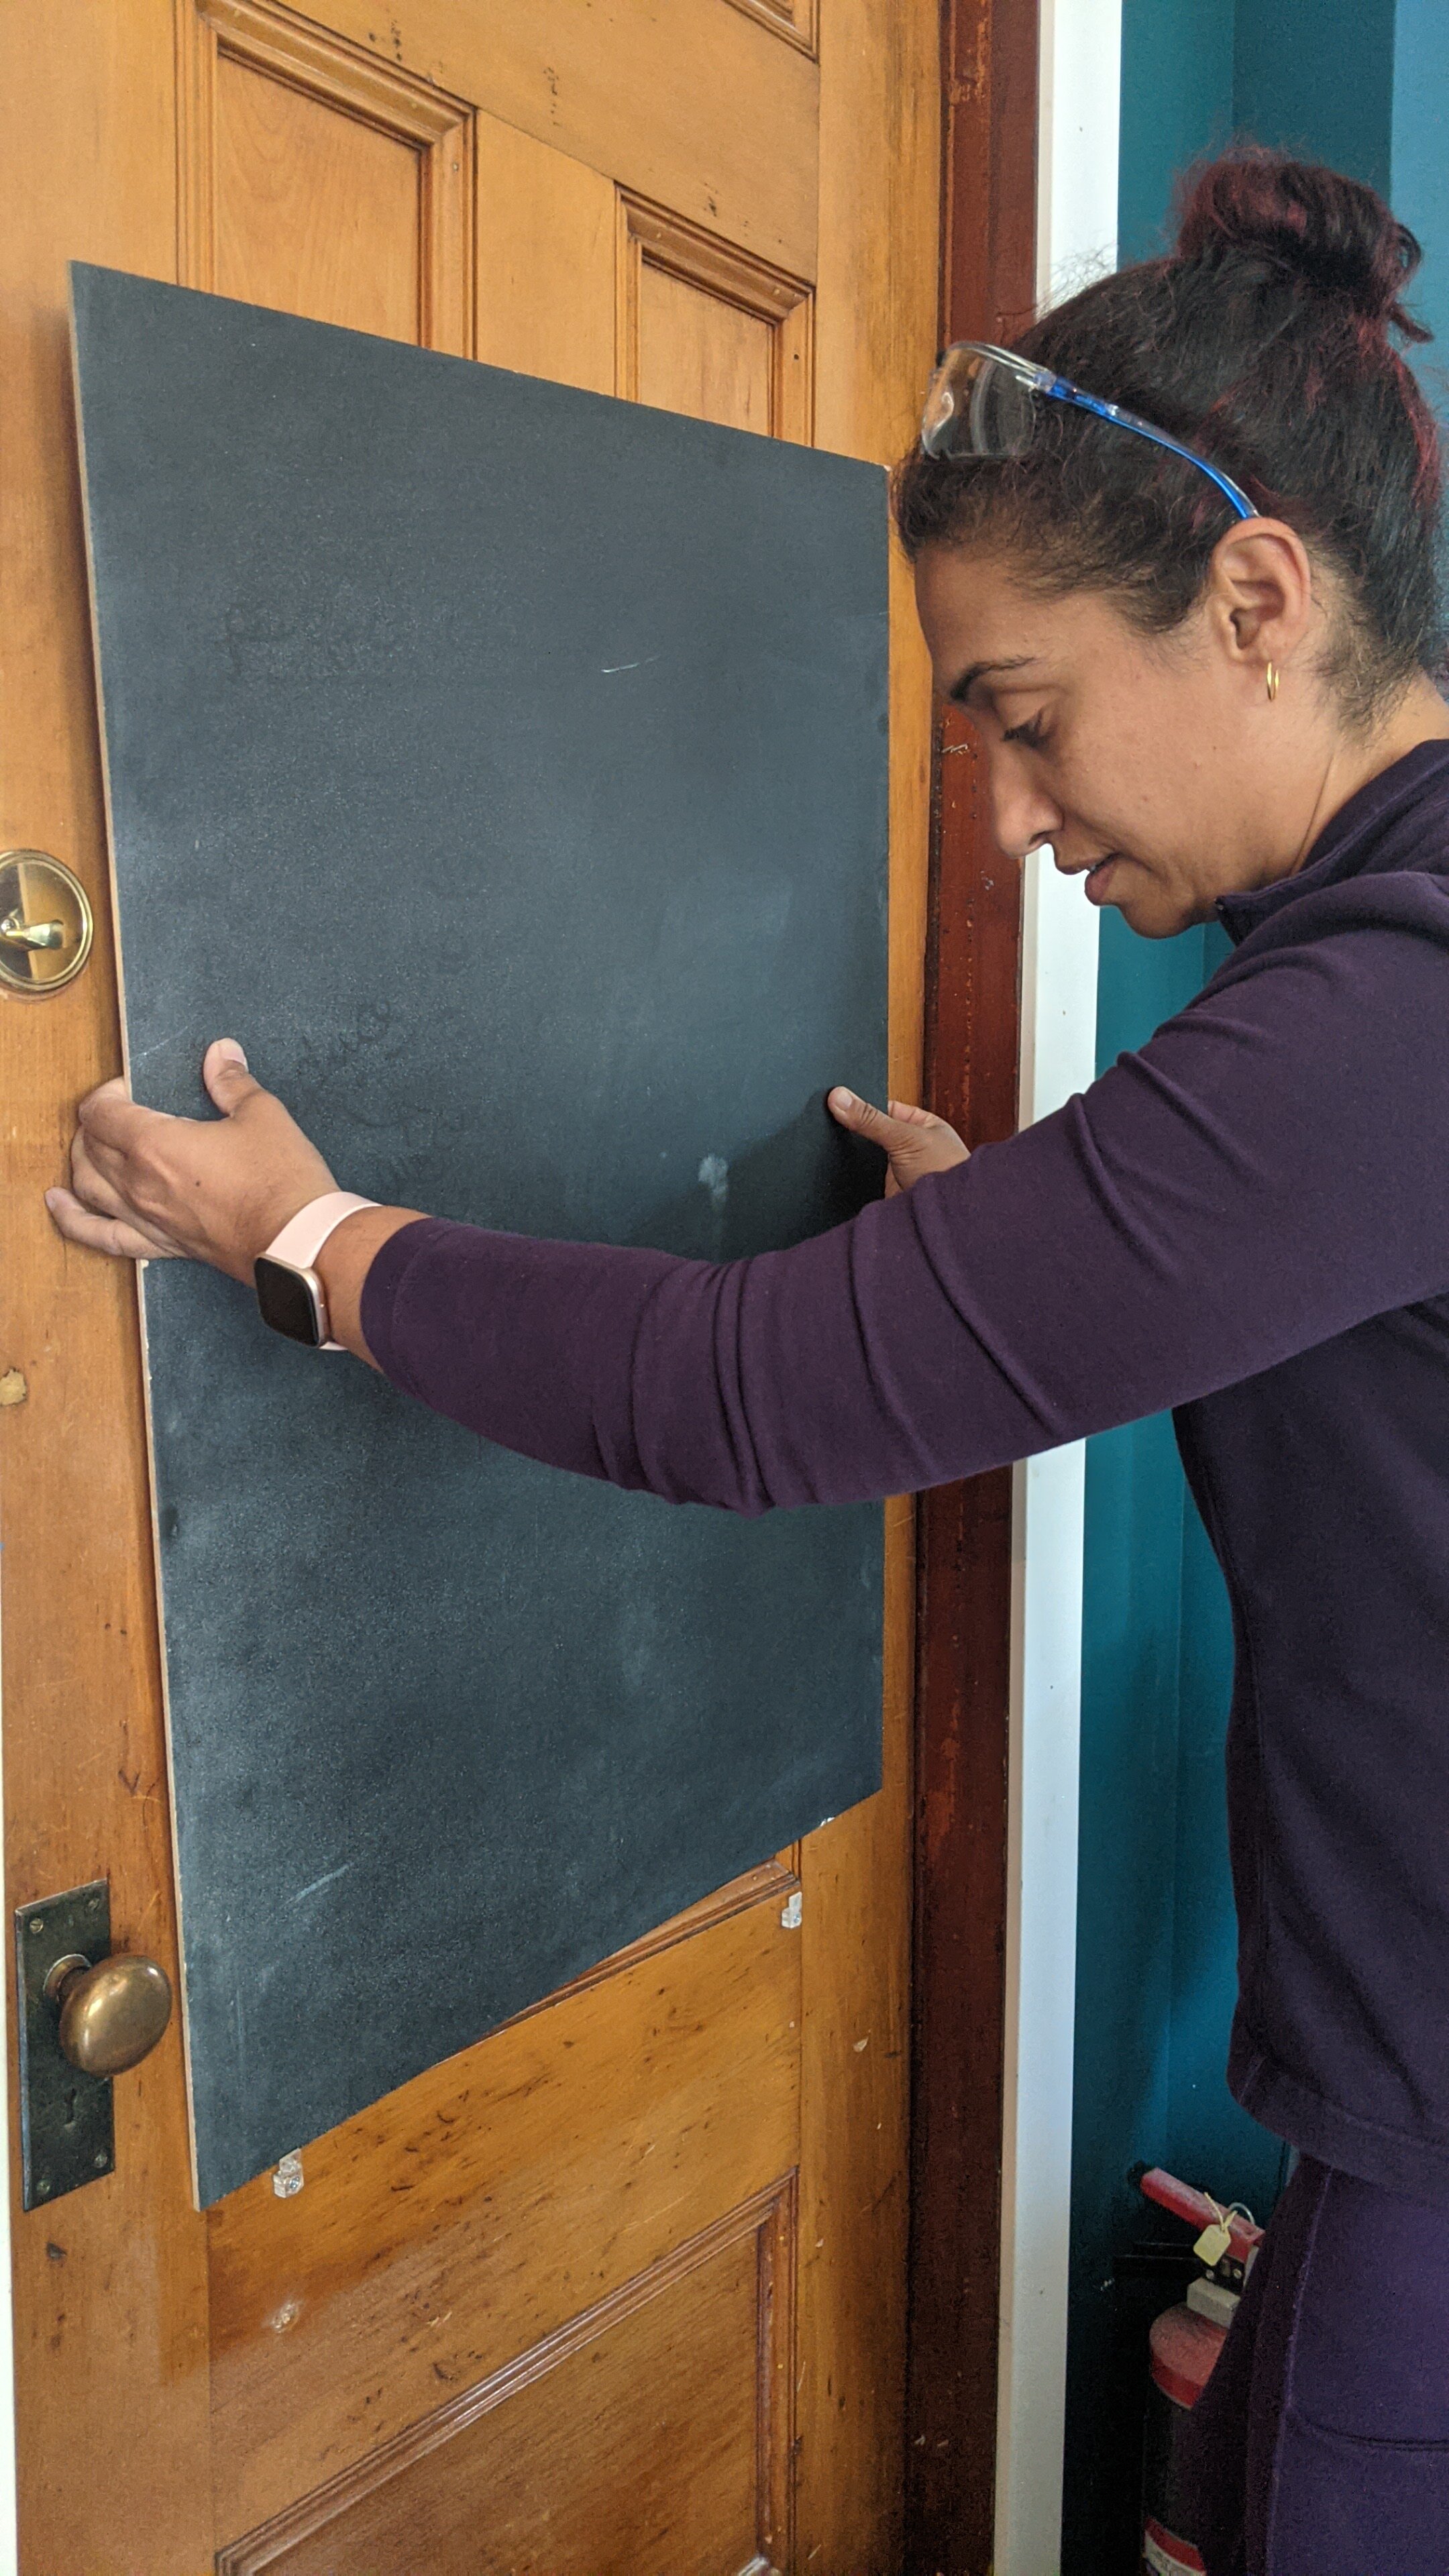
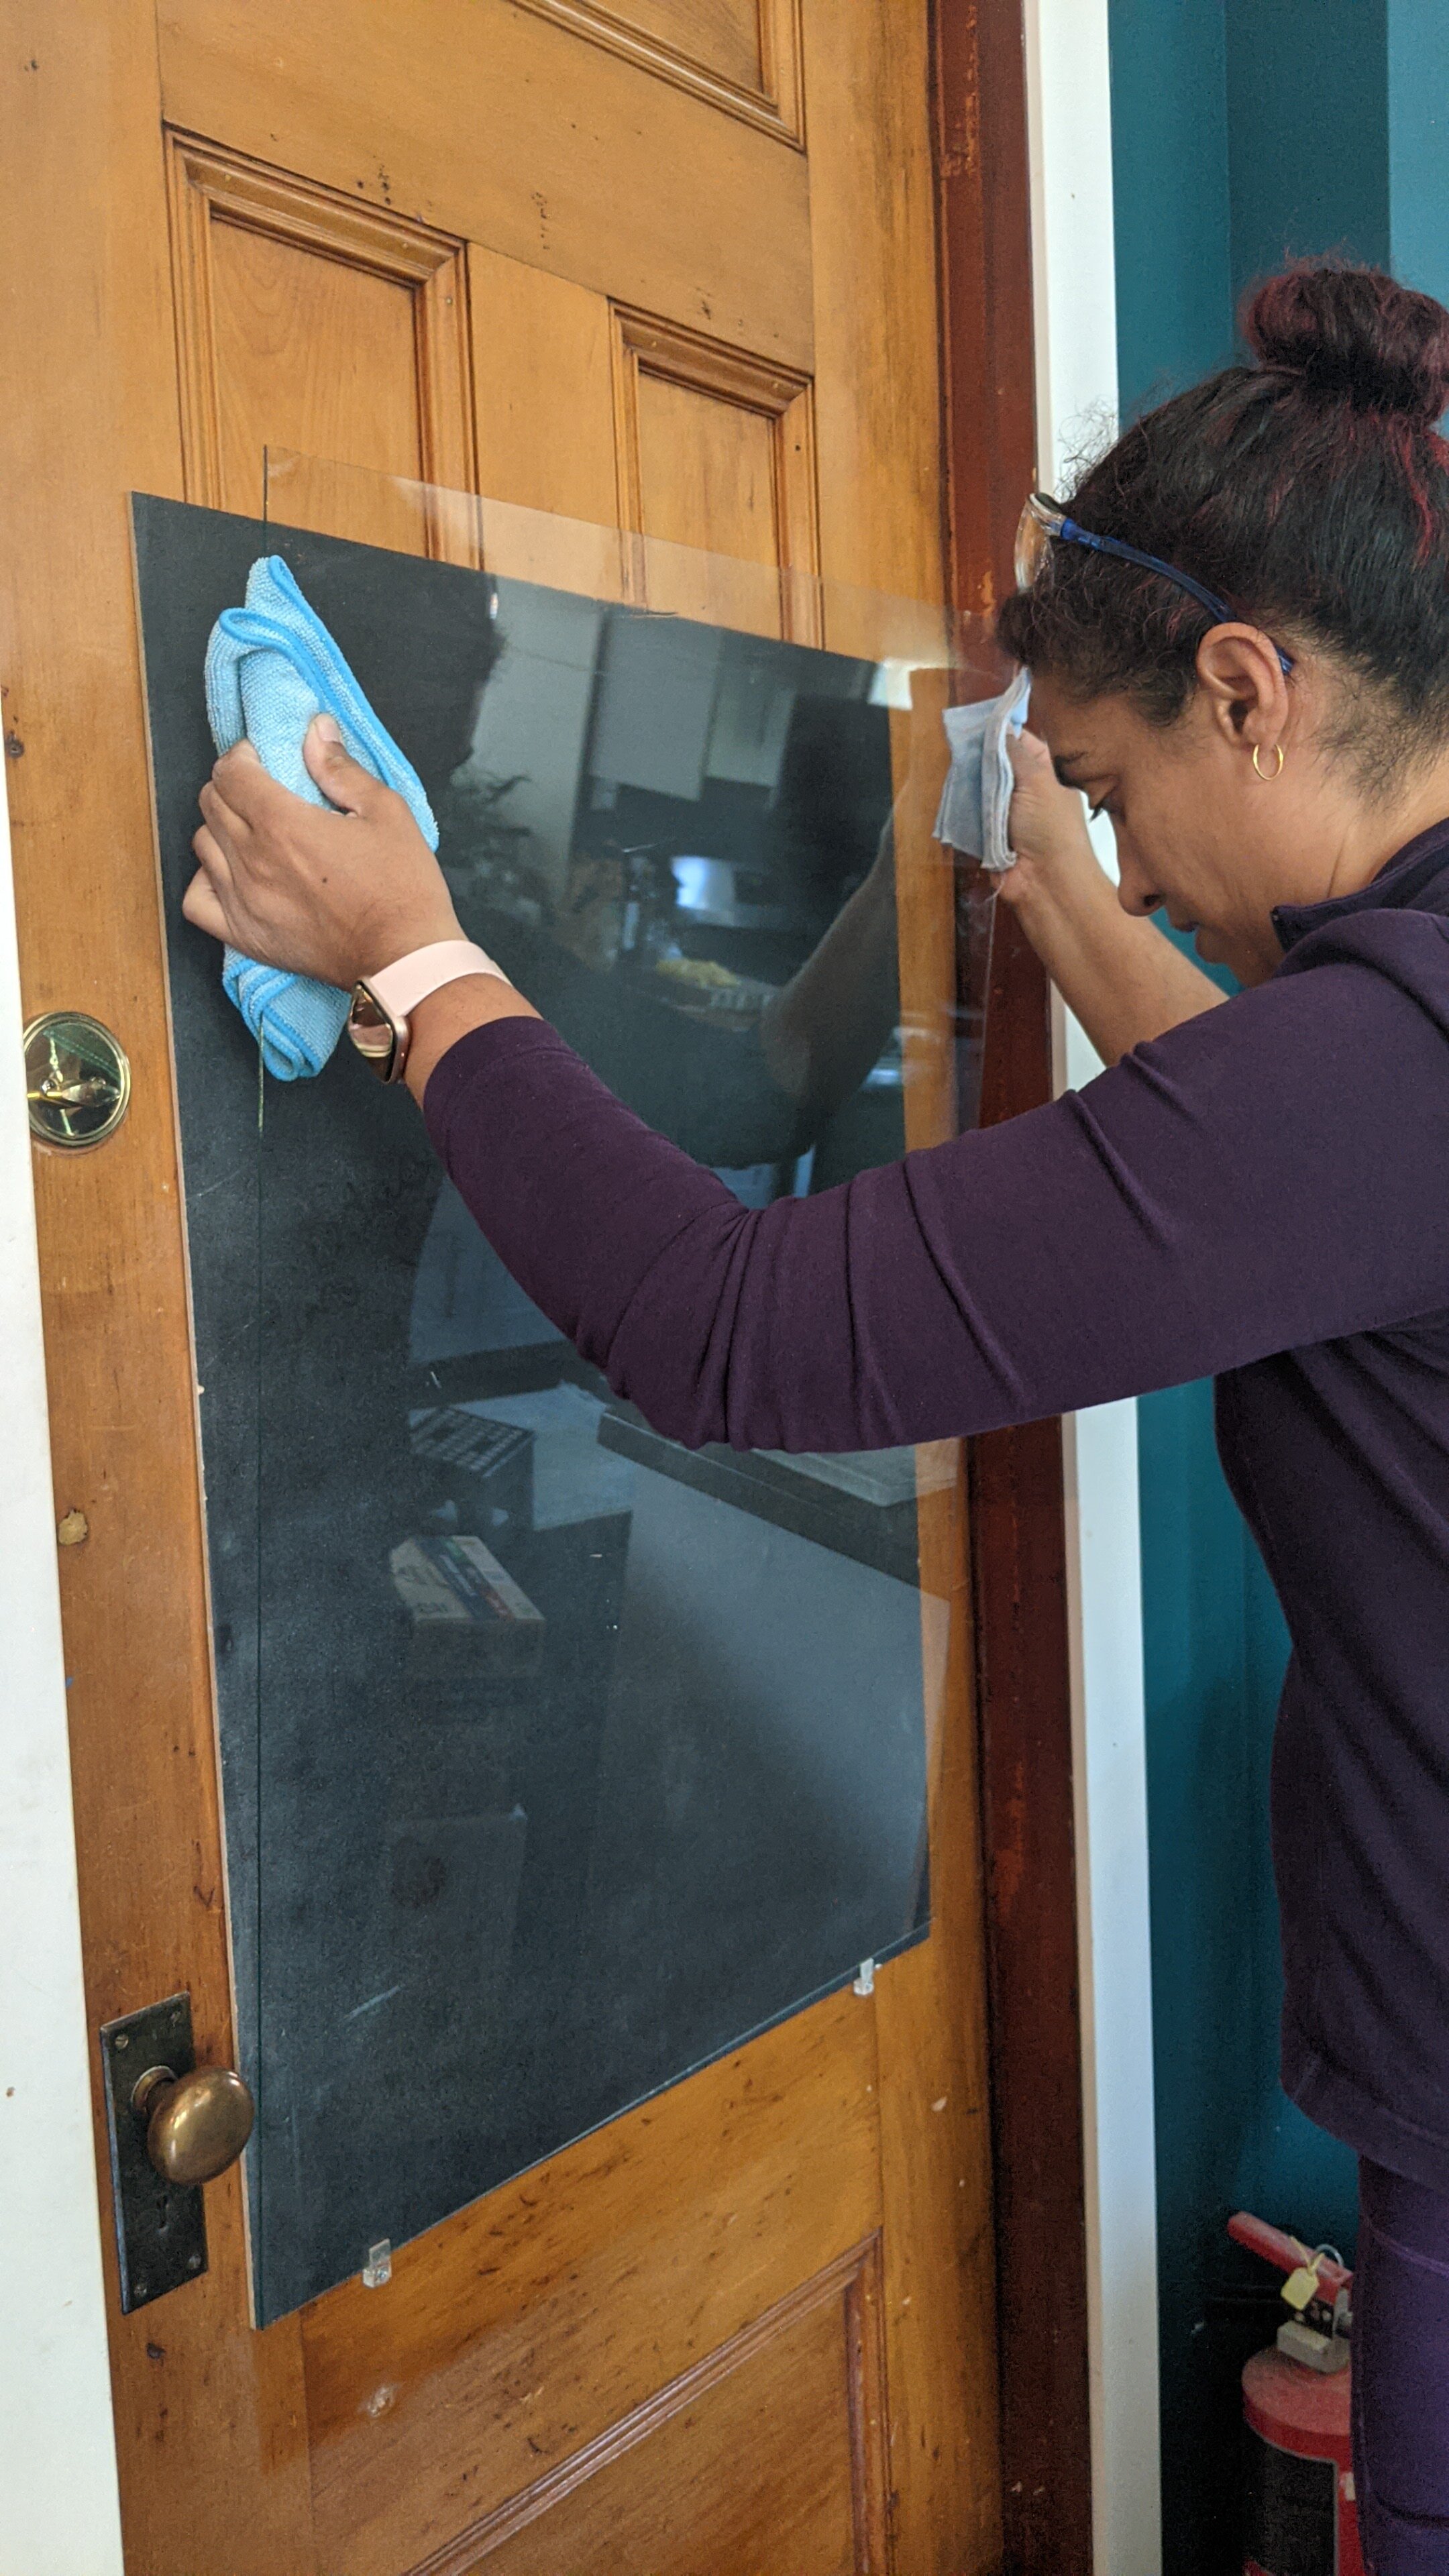
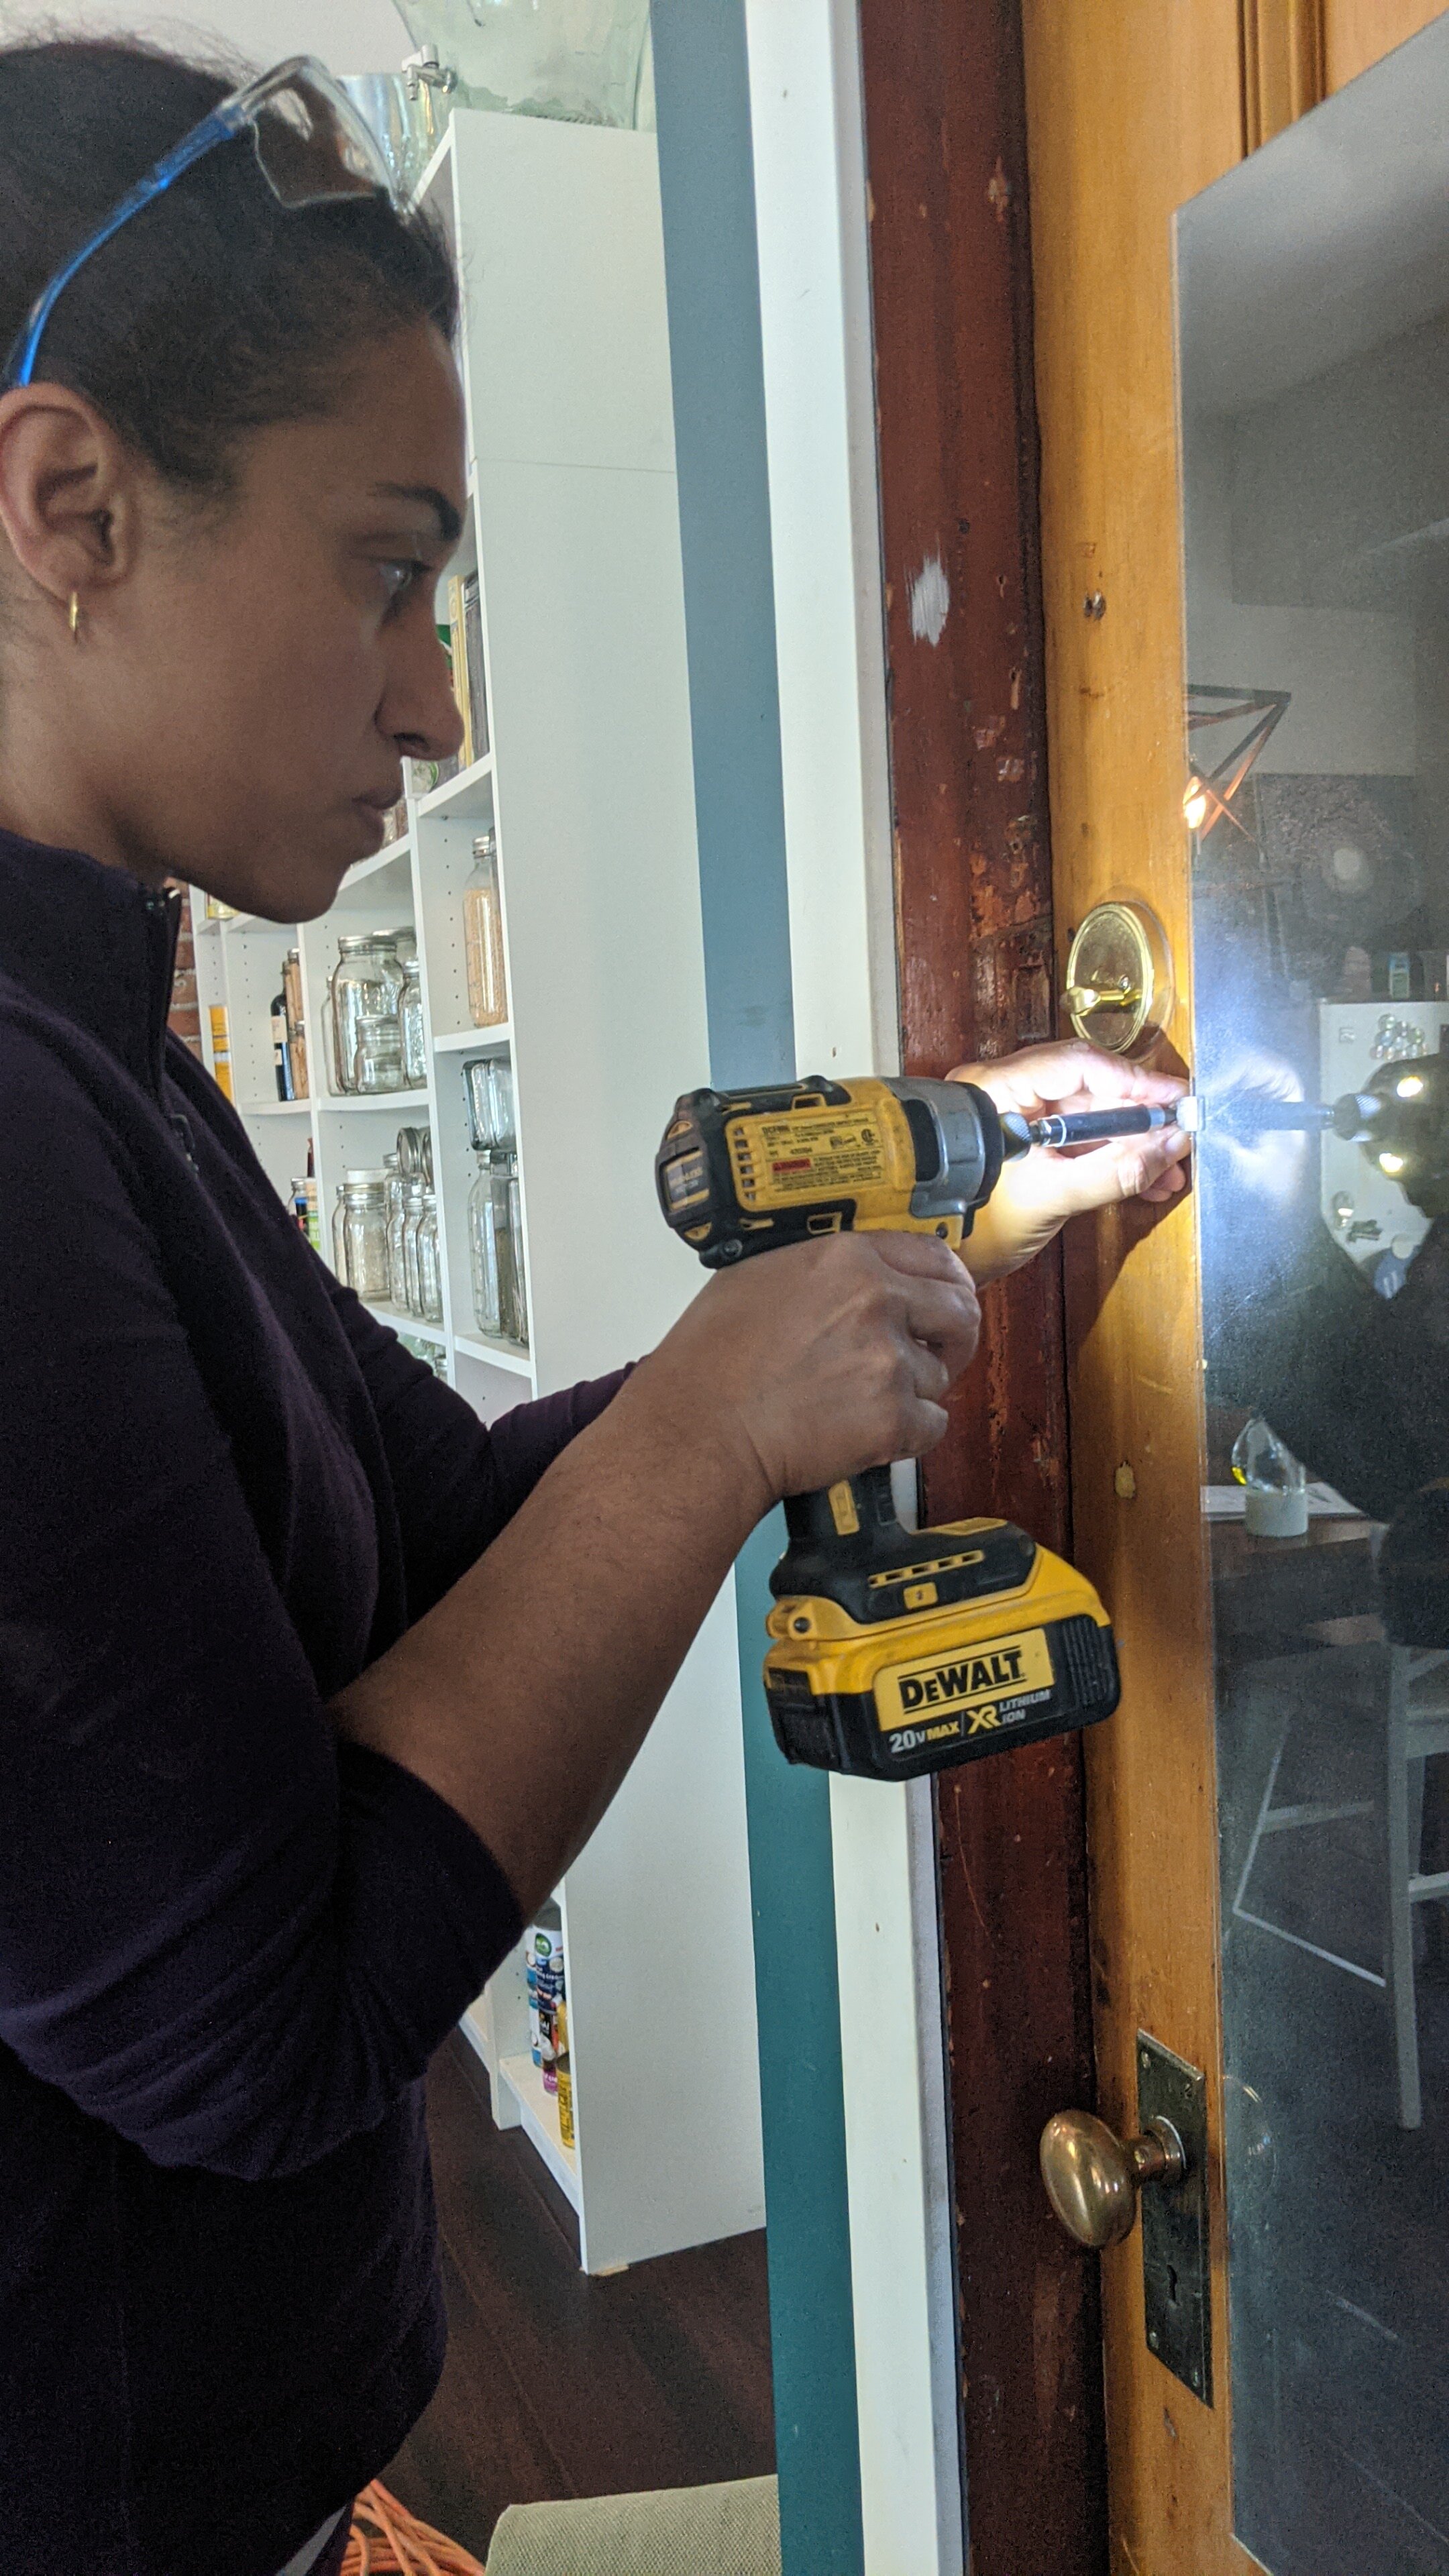
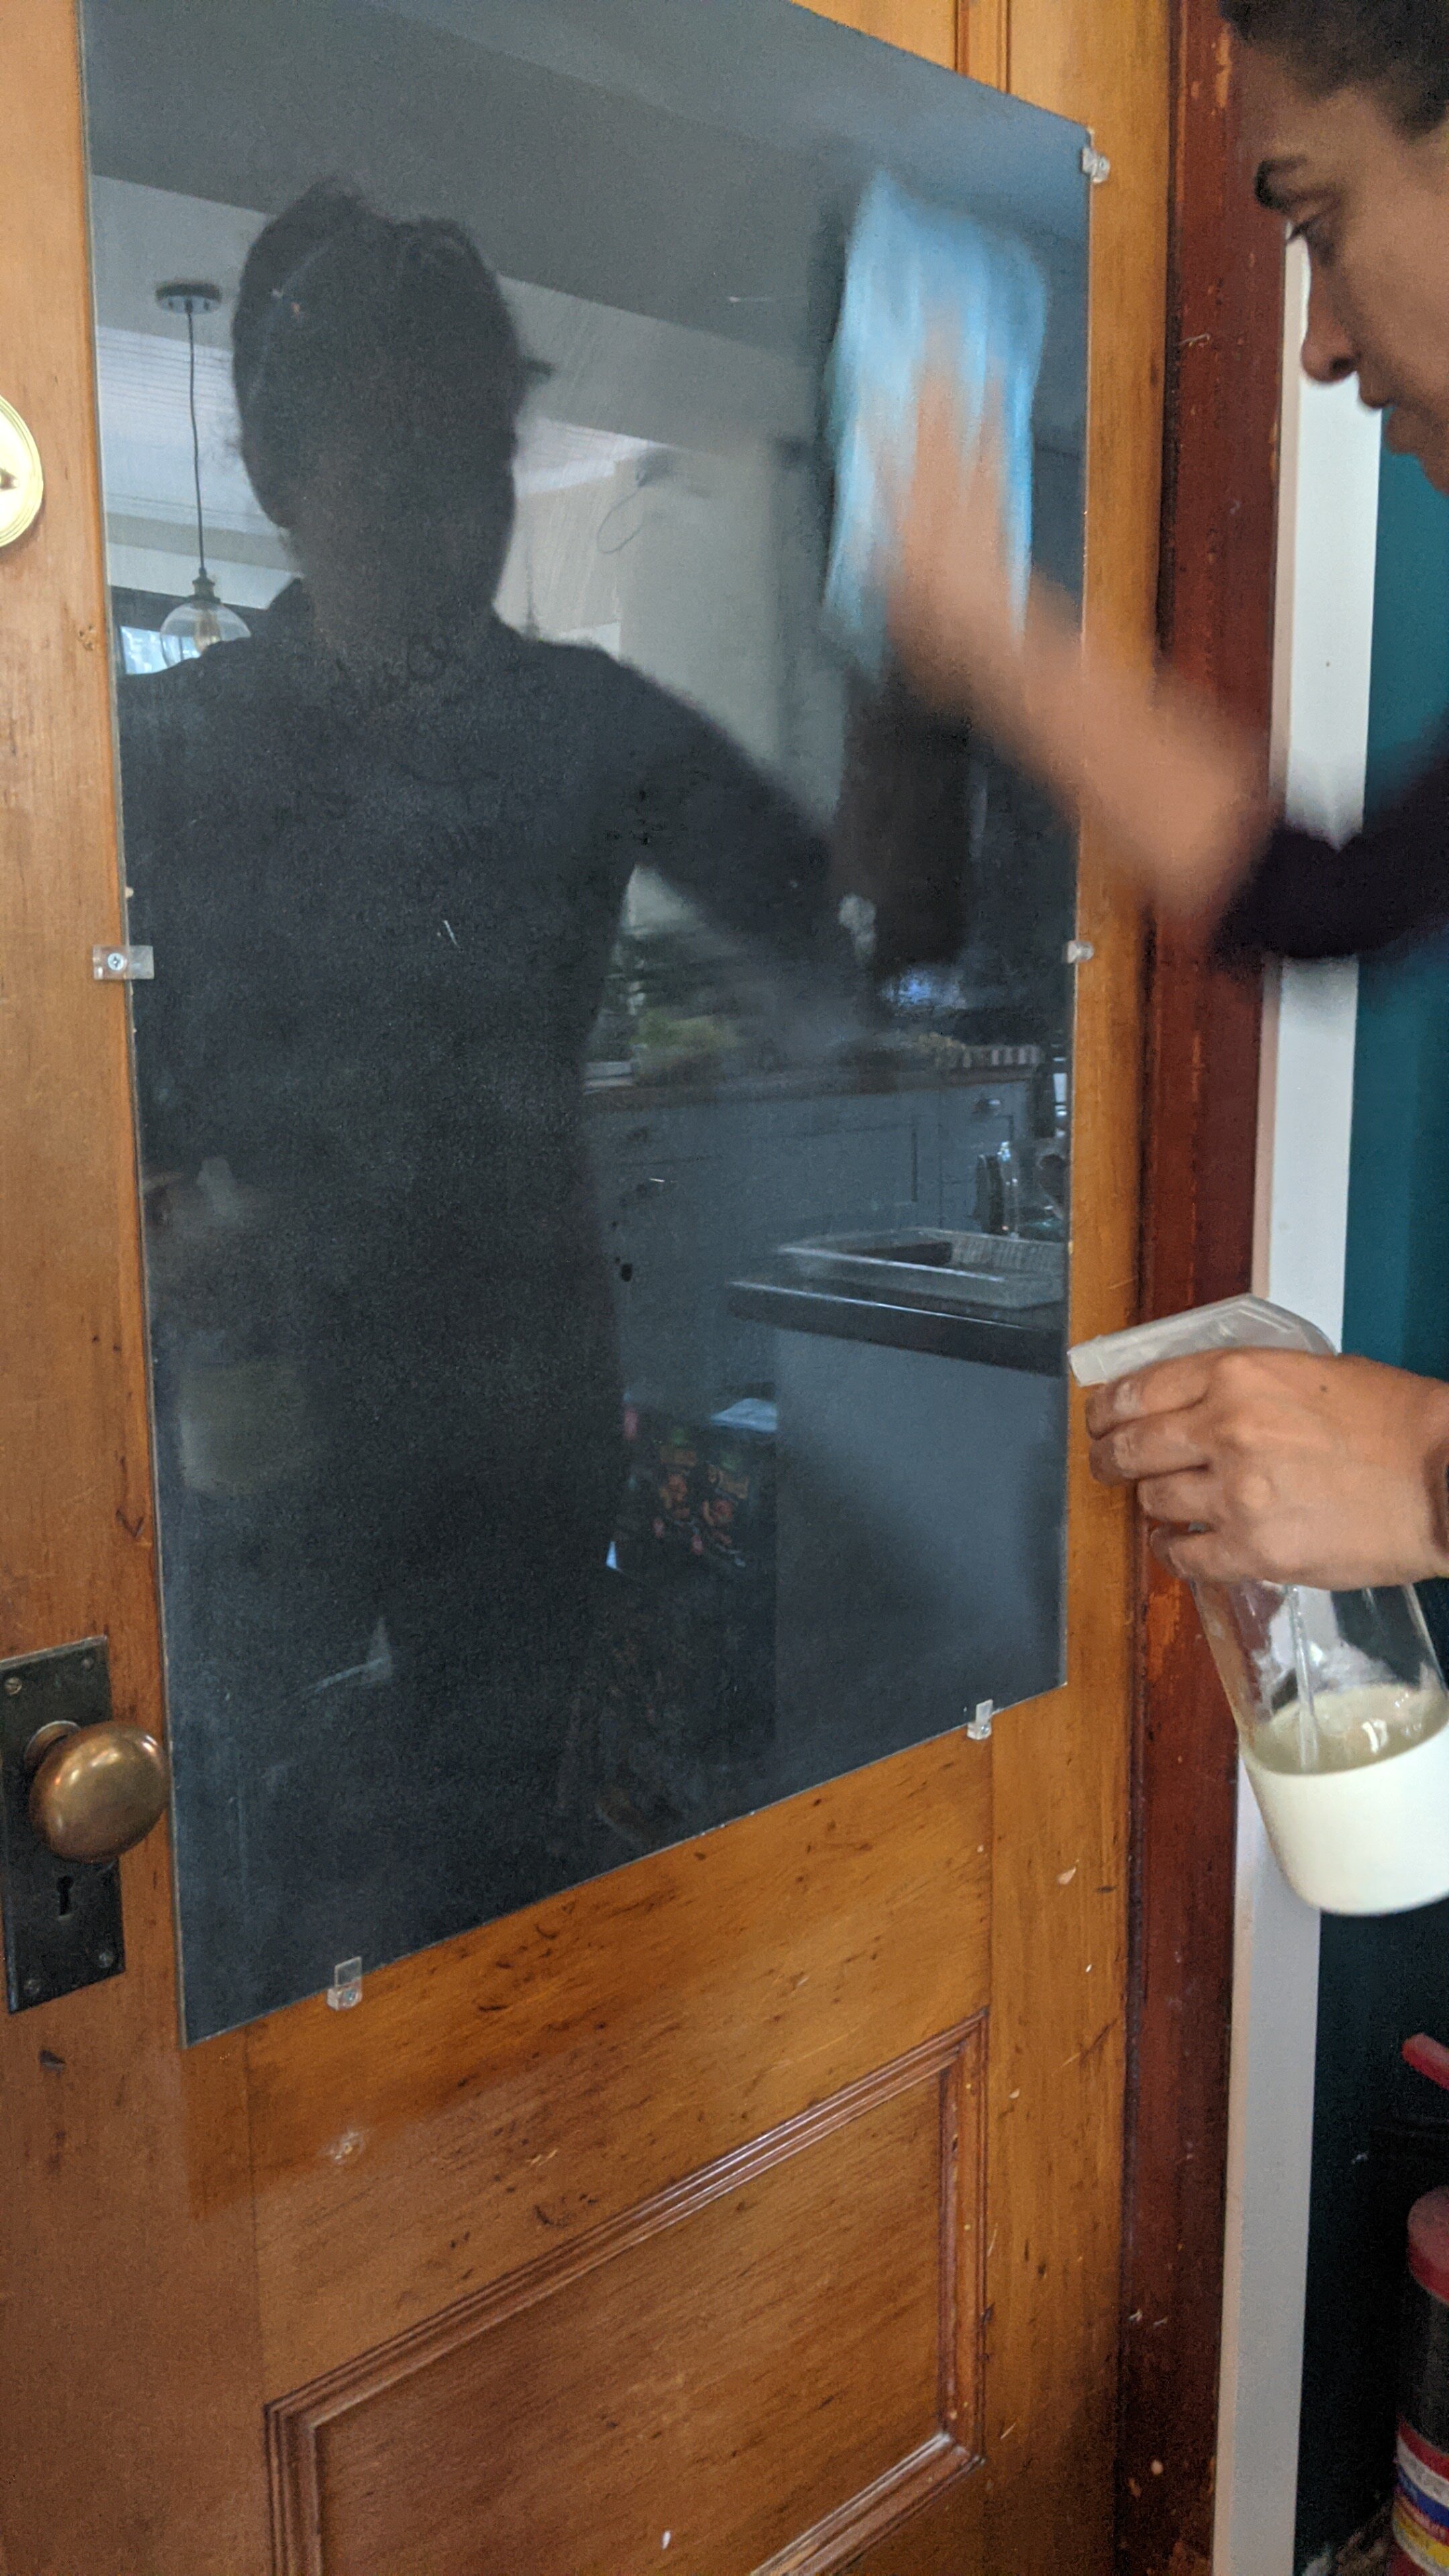
Slide the MDF board into place on the bottom clips and slide into side clip. It should hold in place but have someone near to hold it just in case.
Slide the glass onto and into the clips in the same way as above (WEAR GLOVES!!!)
Secure the remaining three clips to the other side and top of board. Tighten all the clips so they are just snug.
Clean glass with whatever you used to clean glass.
All done!
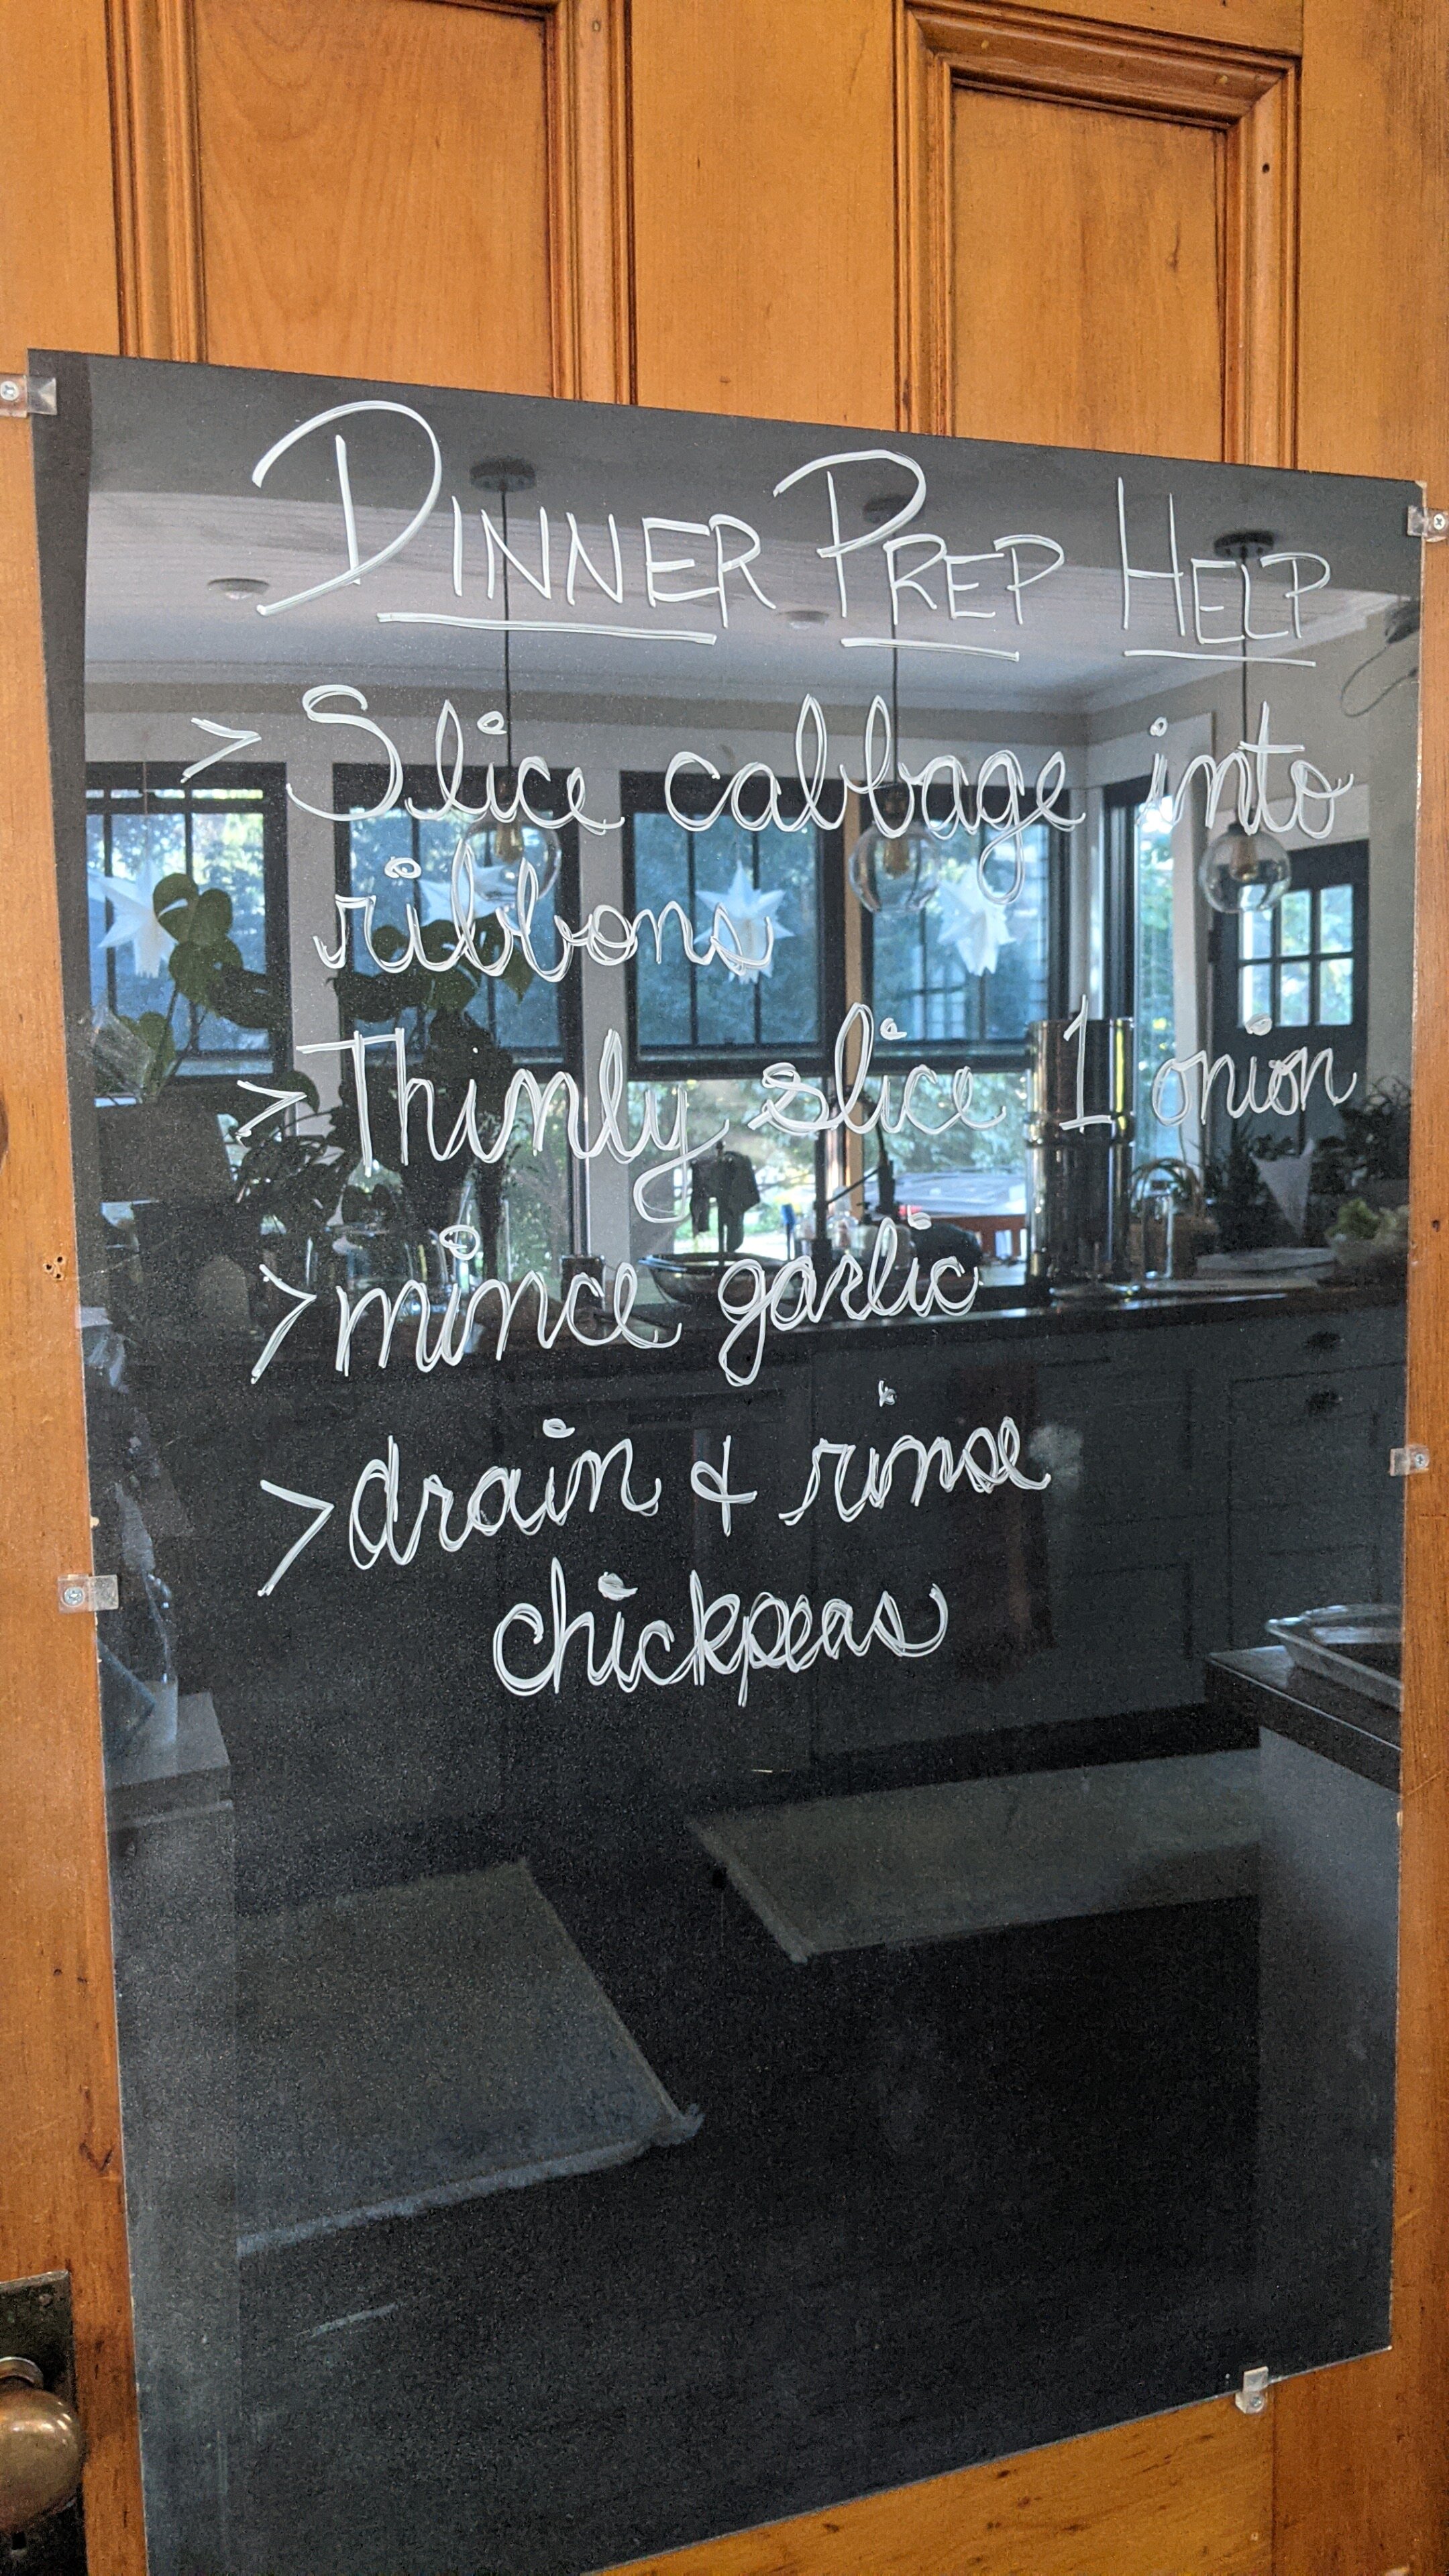
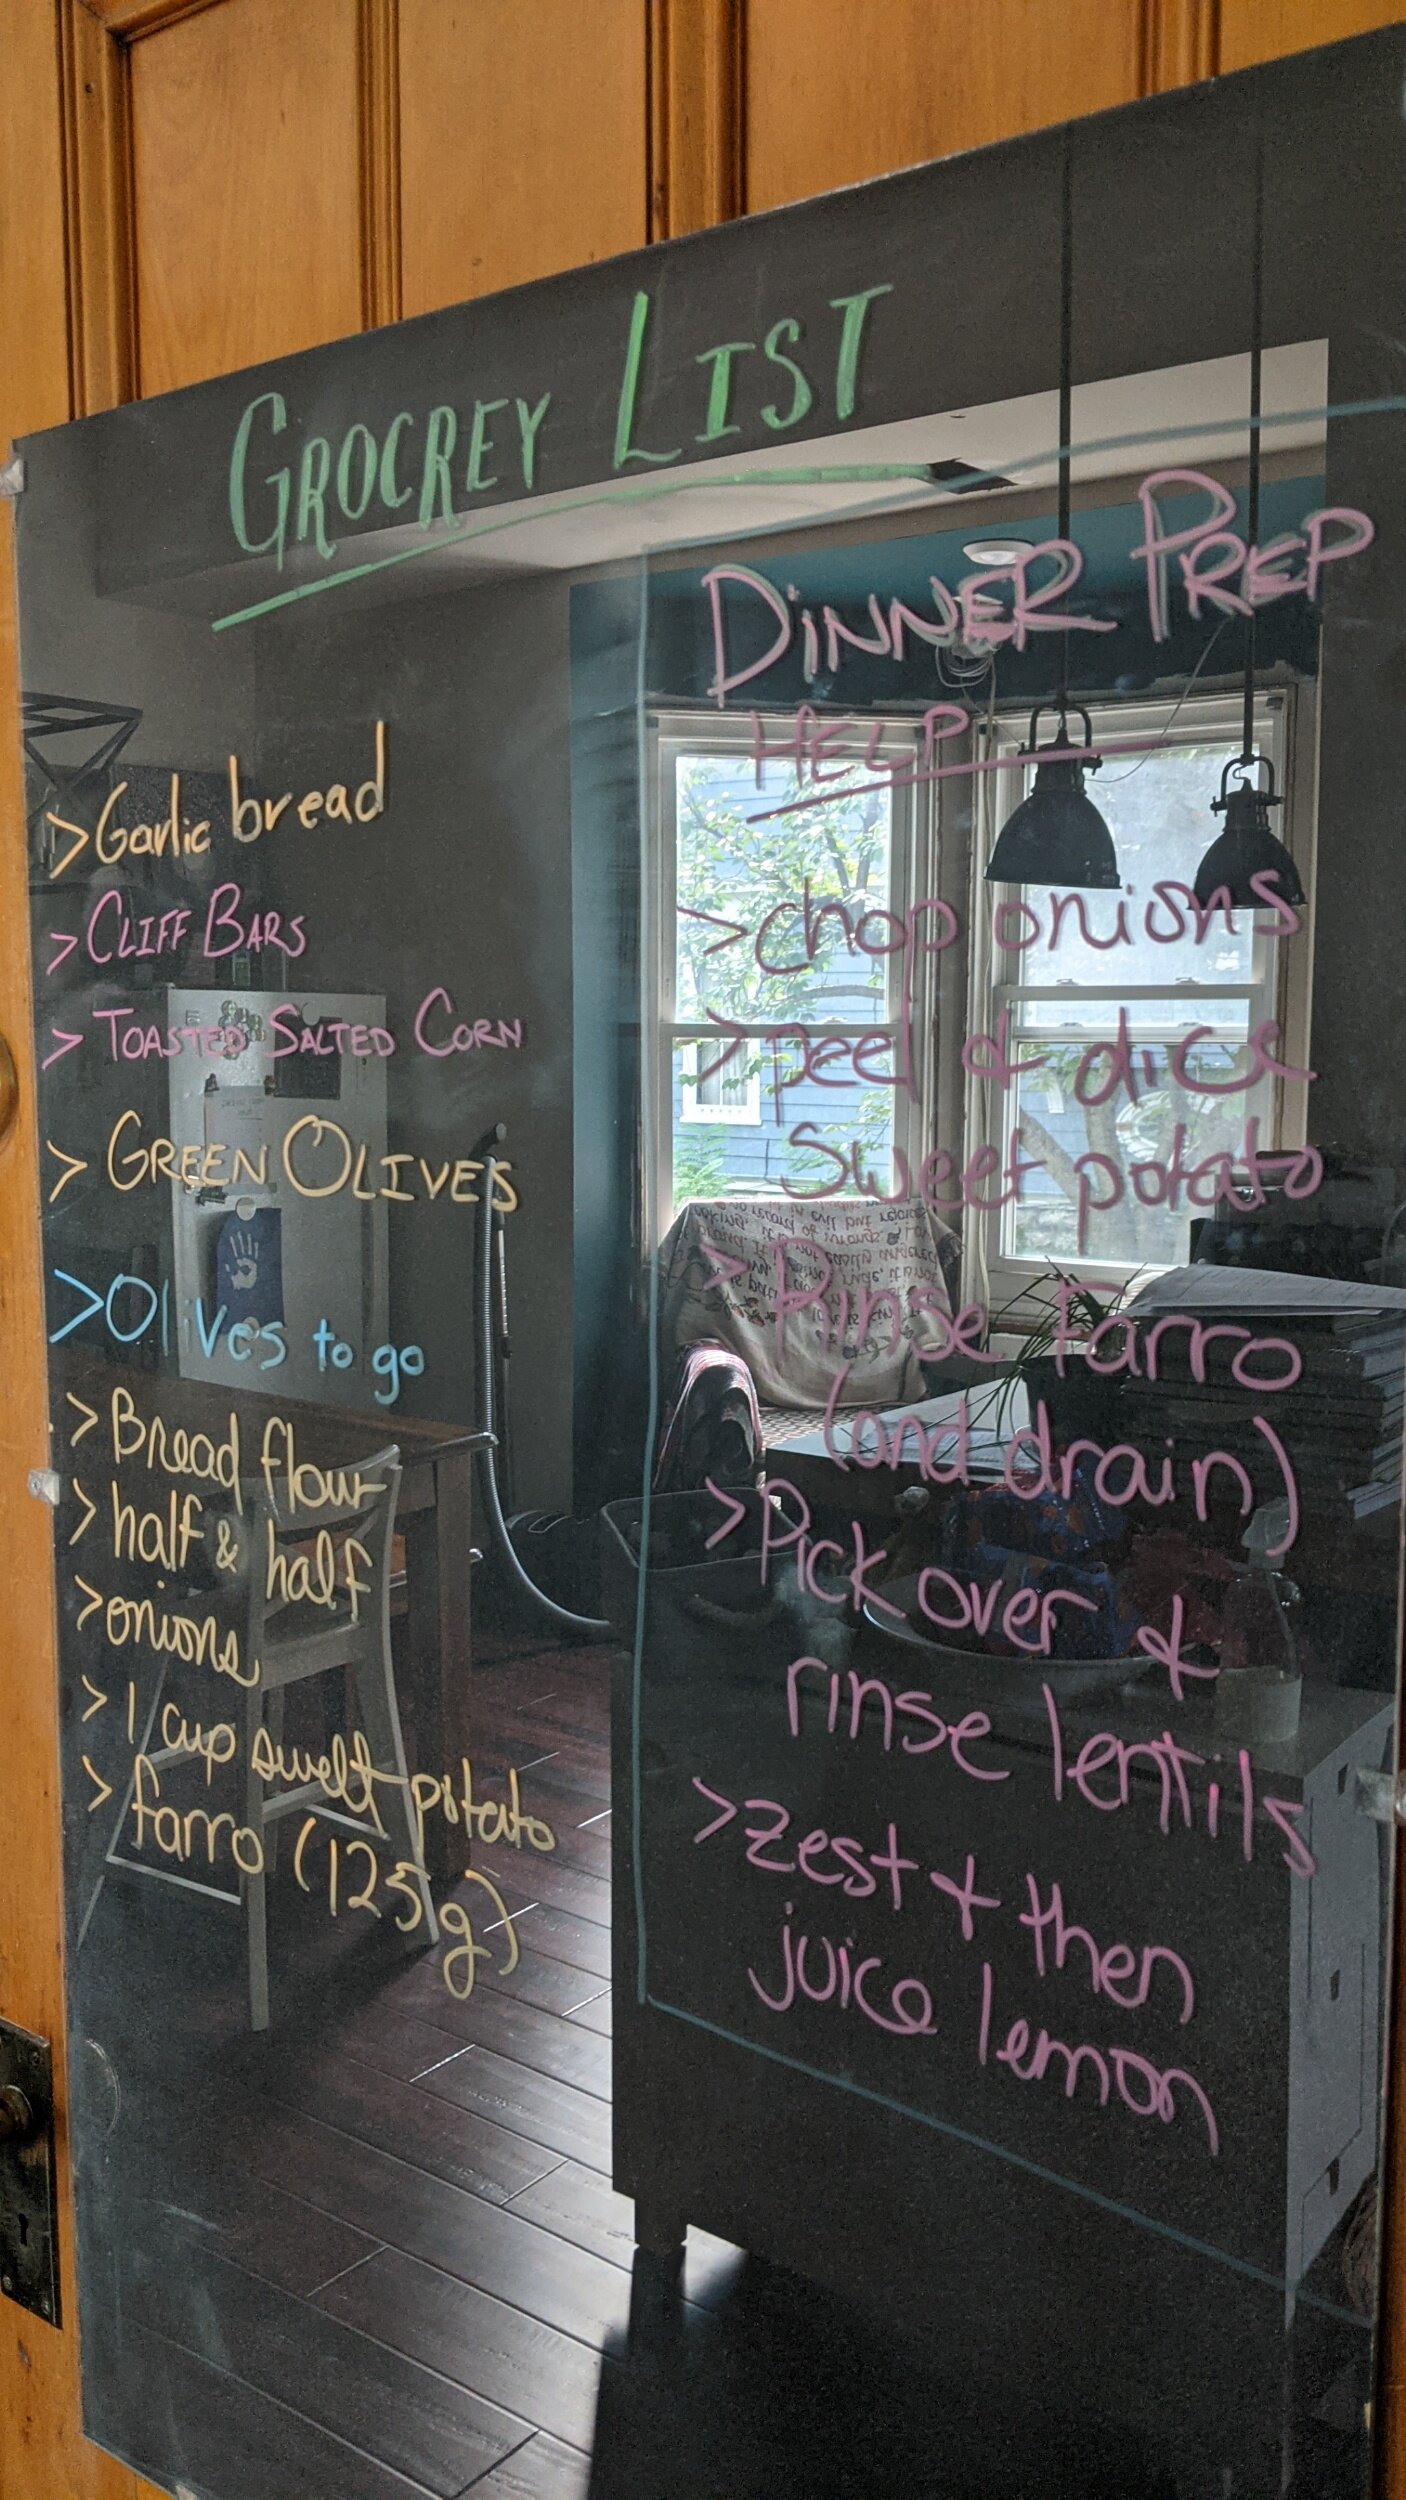
The first picture is with wet-wipe chalk markers. The second is with the window dry-erase markers. They both show up clearly in real life, but photographing them is hard in a kitchen with a lot of windows.
An even easier and prettier version of this would be to thrift a picture frame, replace the print (if any) with black paper or other color of your choice, and hang it on the wall. This version is in our future!
All said and done, this took me about 40 minutes to complete and I’m very happy with how this turned out and even happier with the absence of chalk-dust!